HOW I made the VSP (noisemaker) center console button for 2012 or above (and a little detail on "default to on" on/off switch)
WARNING: DO NOT ATTEMPT THIS DIY UNLESS YOU ARE A DEALER MECHANIC. This DIY explanation is incomplete and nonfunctional.
OVERVIEW
This is how I made a Vehicle Sound for Pedestrian (noisemaker) ON/OFF button for the center console-dashboard button using aftermarket parts...for the purpose of diagnosing my car. One member asked me to share how I did this,
here. I will partially explain.
The idea behind a pedestrian sound ON/OFF switch isn't new but I have my own reasons to renew this thread. One day while driving in our 2013 Leaf I notice a brake grinding noise under 20 mph and thought it would be great to turn off the VSP sound whenever I wanted to check for any brake defects. A few owners have had experiences with a brake failure. For this reason, I had to have this button. It's a safety issue.
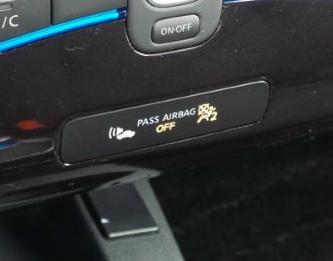
PRESS THIS BUTTON TO TURN OFF PEDESTRIAN SOUND The fat button on the center console, where the picture of the little car is.
Update: I updated this button to a soft touch switch that acts and feels like an factory switch. I also converted a button such as when I press the charger schedule button, the VSP sound shuts off. The charger schedule button is unchanged and functional. I don't turn off the VSP sound when the car is in motion and any physical fixed object is nearby within 10-feet or pedestrians/bikes heading towards me within a 1/4 mile.
Secondly, I wanted a VSP button that is safe to operate, not a button hidden behind the steering wheel, like on the 2011 model. I also wanted to know whether it's off after a click of a button. On a busy, noisy parking lot I can't seem to hear the VSP effect. On a 2011 Leaf I can't seem to see the VSP light hidden behind the steering wheel. Typically, the VSP LED lights up when the VSP is off - and should easily be seen on the dash.
TUTORIAL STARTS HERE:
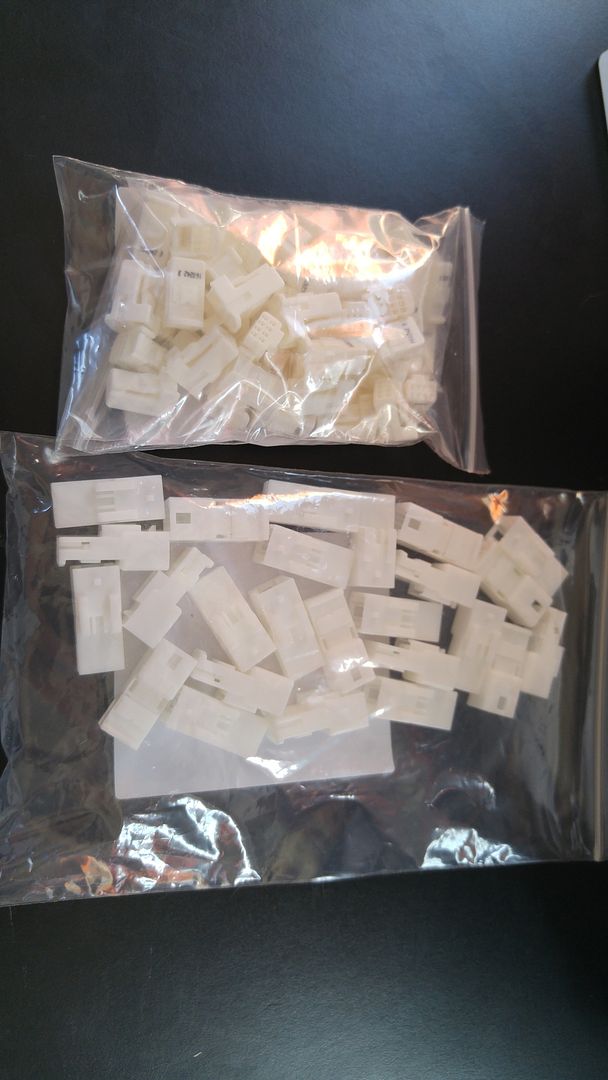
Parts needed: A mini cheery switch, cherry switch housing, wires and a steel wire.
Tools needed: A stubby Phillips screw driver
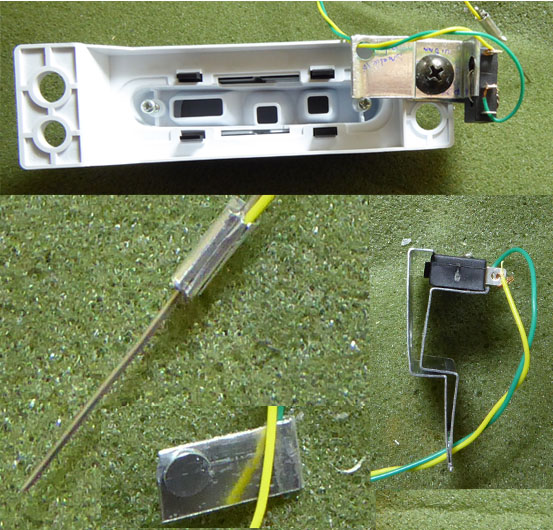
1. Install the cherry switch into the housing then wire and solder it all up. Tips: wrap the wires up in electrical cloth tape helps dampen noise.
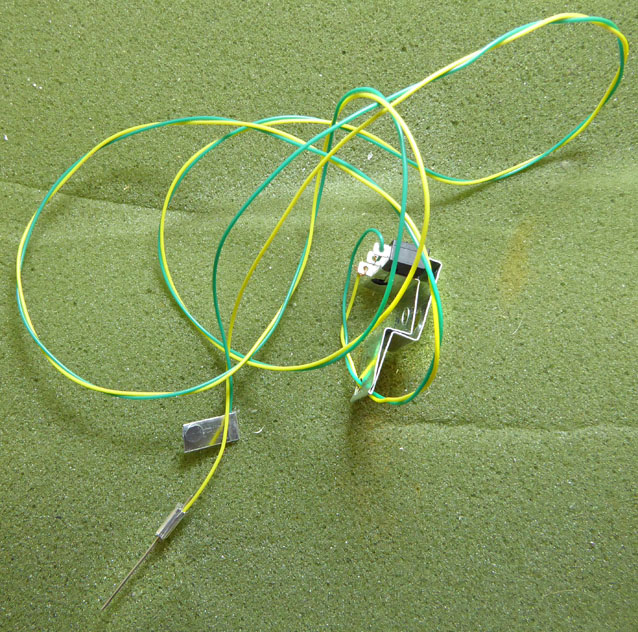
picture of the plug and play harness (shows 22AWG prototype wires but must at least be 18AWG wires)
2. Remove the glove box. See this well done video https://www.youtube.com/watch?v=RHWT8VqnRGo
Tip about video: A box disconnect will shut off important charge related error warnings or other important sounds.
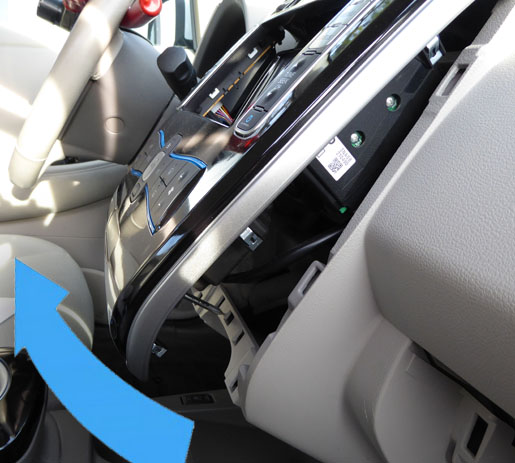
3. Pop the dash console. Start by grabbing the bottom of the dash panel then pull (out and up) as though you're opening a rusty treasure chest. There are no screws holding it back. It'll open just enough for your stubby screw driver.
WARNING: Wear thick gloves. A sudden release could scrape or cut your hands. Disconnect the 12V battery before working near electrical wiring - beware that doing this may reset various digital information.
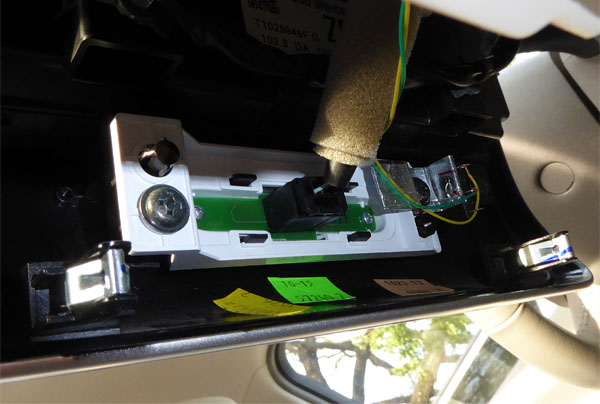
4. Install the switch unit on the back side of the VSP indicator light unit. (Also see example pic at bottom of page.) Loosen both screws (left and right screws) of the VSP/air-bag indicator light unit but only remove only the left screw. Using the left screw, apply some thread locker on the threads (optional) then install the switch into its place. As you screw in, you'll here a click of a switch. Back off a turn or until you hear another click. You may have to adjust the right and loosen the left screw a bit to get the button to work. Pressing the button from the front to check for clicks as you go along.
5. Route the wires behind the dash and into the glove box area. When completed, you shouldn't see any protruding wires.
6. Behind the glove box is a connector. Plug the long 20mm pin into pin number (CENSORED.This info is left out intentionally.)
WARNING: DO NOT ATTEMPT THIS DIY UNLESS YOU ARE A DEALER MECHANIC. Plug wrongly to any other slot could damage some things, which your car may resemble being taken over by a poltergeist, a burnt fuse, a burnt wire harness, cause a fire and/or a likely trip to the dealer. To prevent problems simply triple check the pin position and confirm that Nissan hasn't change the pin position.
Confirm that the plug has 16 pins. Some after market switches have a resistor built-in to prevent some damage. TRIPLE CHECK! :mrgreen:
7. Bolt or screw the ground wire to the VSP box footing. (see image above).
8. Start then put the car in reverse. You'll hear a ping-ping sound. Push the VSP button (slightly to the left of where the picture of the little car is) and the sound should stop and the VSP LED light should come on. Push again and the sound continues and the VSP light turns off.
__________________________________________________________________________
OTHER DETAILS:
The pin that plugs into the slot is crimped to a 1mm round stainless steel. I cut its tip to an angle (much like a hospital injection needle). This allows me to insert it into the terminal. The ground tab has a magnet attach to it. It easily attaches to any metal frame (ground.) Professional installer shouldn't use this magnet but instead should screw it to the VSP box (below the box.)
Professional installers should use the Molex female connector pin that comes with it. It's a more reliable connection. I like the stainless steel better since I can unplug it at anytime.
DEFAULT TO OFF: A "default to off" on/off switch is a switch that should be use to temporarily shut off the forward and back-up sound upon start-up. This is used primarily by mechanics, especially dealer mechanics. Pushing the center console button turns the sound back on, but defaults to off again after ignition shutdown. It operates the same way as shown by previous post by other forum members. But the working circuitry consist of only a diode. It installs nearly the same way as shown on this page but instead attaches inside the glove box. For lease vehicles there's no worry. Similar to this tutorial, the "default to off" switch won't show any hints that it's ever been installed once you unplug it.
DISCLAIMER: Deactivating the VSP is dangerous and shouldn't be attempted, other than allowing a dealer to use it to temporarily diagnose or troubleshoot your car. Death, injury or property damage may result from using this VSP on/off switch. Please remove this unit once you're done troubleshooting your car. Installing this device in your car may damage your car if the installer isn't aware about how the installation works. The proper way is to understand not to use combustible materials, always cover expose bare wires, always check the circuit board to read the pins carefully to make sure the pin accepts ground inputs and to always disconnect the 12V battery before doing work. Please read post Feb 28 how to disconnect battery. Your job is to check and confirm these rules are followed. And, most of all, avoid plugging it into the wrong pin slot. Only allow a professional installer to do the work for you, if you're unsure.


") then chhange the 10 A fuse (3rd in the middle, named [Meter1]) in the fuse box left beside your steering wheel.
then chhange the 10 A fuse (3rd in the middle, named [Meter1]) in the fuse box left beside your steering wheel.