Over the weekend I replaced the four speakers in the Leaf doors with Infinity REF6522IX speakers from Amazon
https://smile.amazon.com/gp/product/B01DSIKGJA/ref=oh_aui_detailpage_o02_s00?ie=UTF8&psc=1. I used these adaptors
https://smile.amazon.com/gp/product/B078GQJ8CT/ref=oh_aui_detailpage_o03_s00?ie=UTF8&psc=1 and wiring harness
https://smile.amazon.com/gp/product/B01N03JC9O/ref=oh_aui_detailpage_o02_s01?ie=UTF8&psc=1 so I wouldn't have to splice any wires and make it as plug-in-and-go as possible. Overall, the whole experience was much easier than I thought with only one slight problem which I will detail below.
I used this YouTube video to learn how to remove the door panels:
https://youtu.be/siW8sxZnQ-w
I used an electric drill for all the bolts, which I highly recommend, but a regular phillips screwdriver to remove the door handle. The door panels are really easy to remove, which was nice.
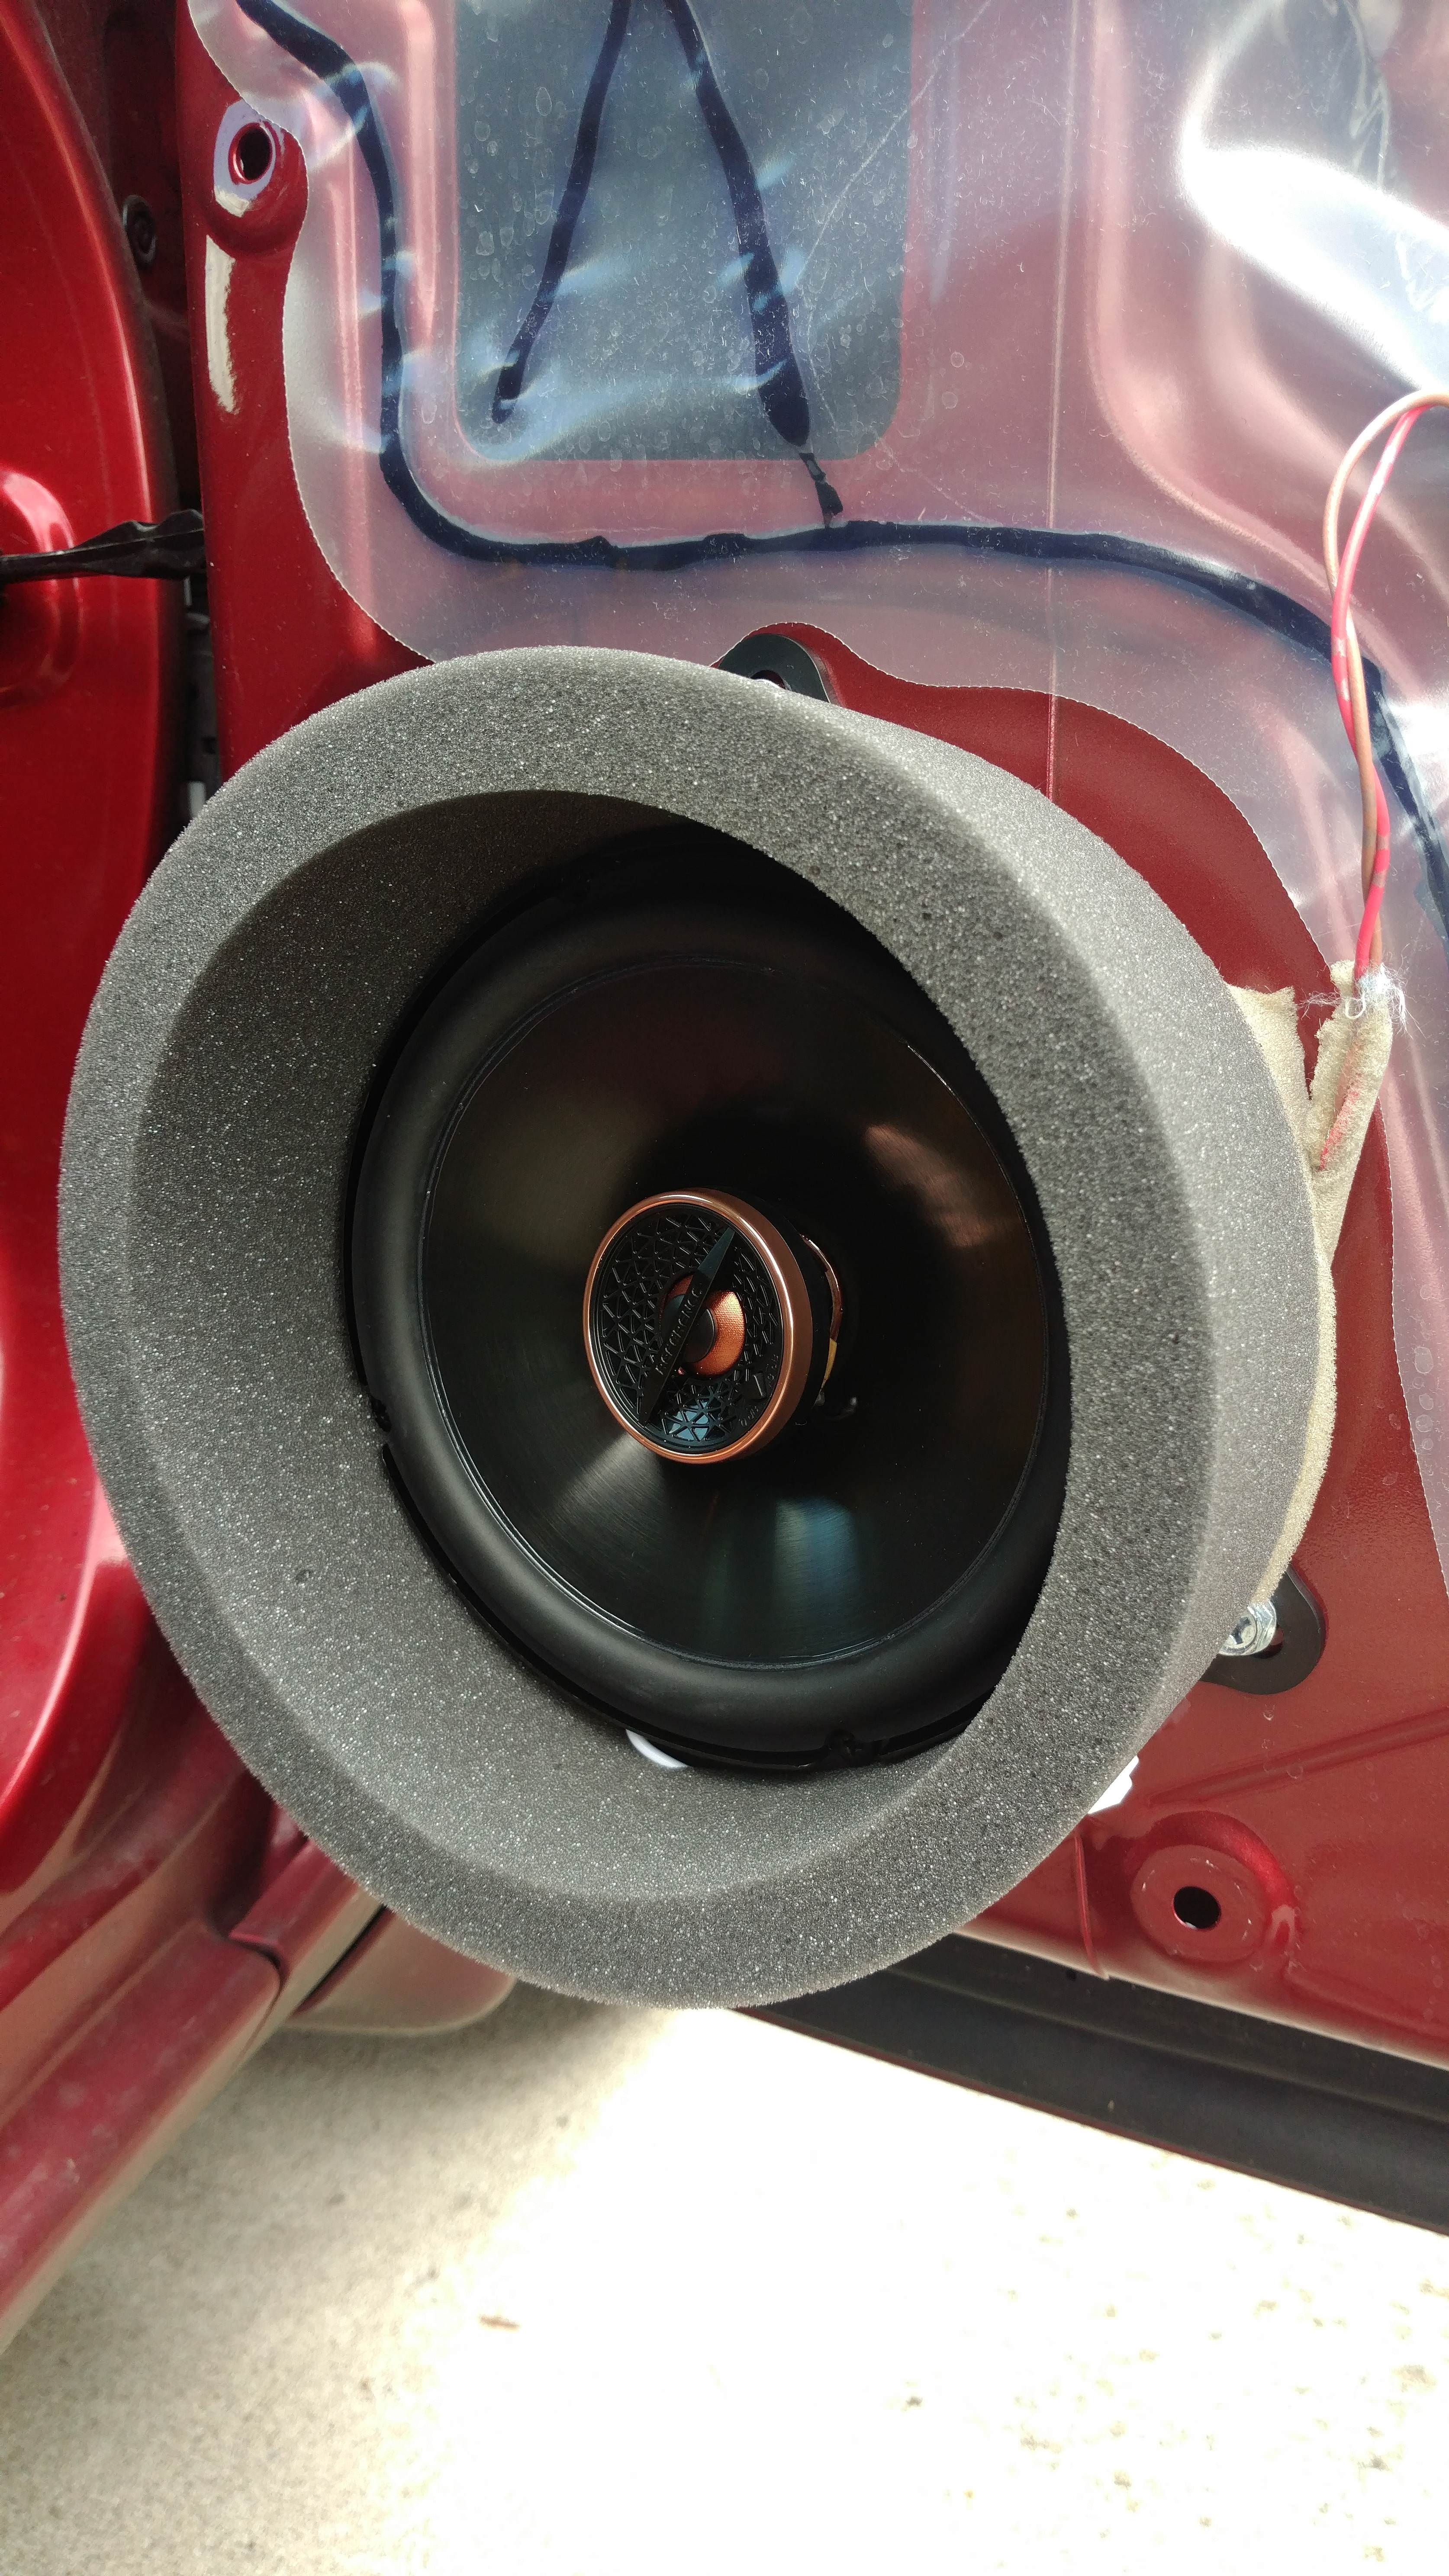
I also bought a set of F.A.S.T. Rings for the two front speakers to see what all the fuss was about. I think they were a good choice, and relatively cheap. Just be prepared to cut them to adapt to your surroundings. They are just foam so are very easy to cut.
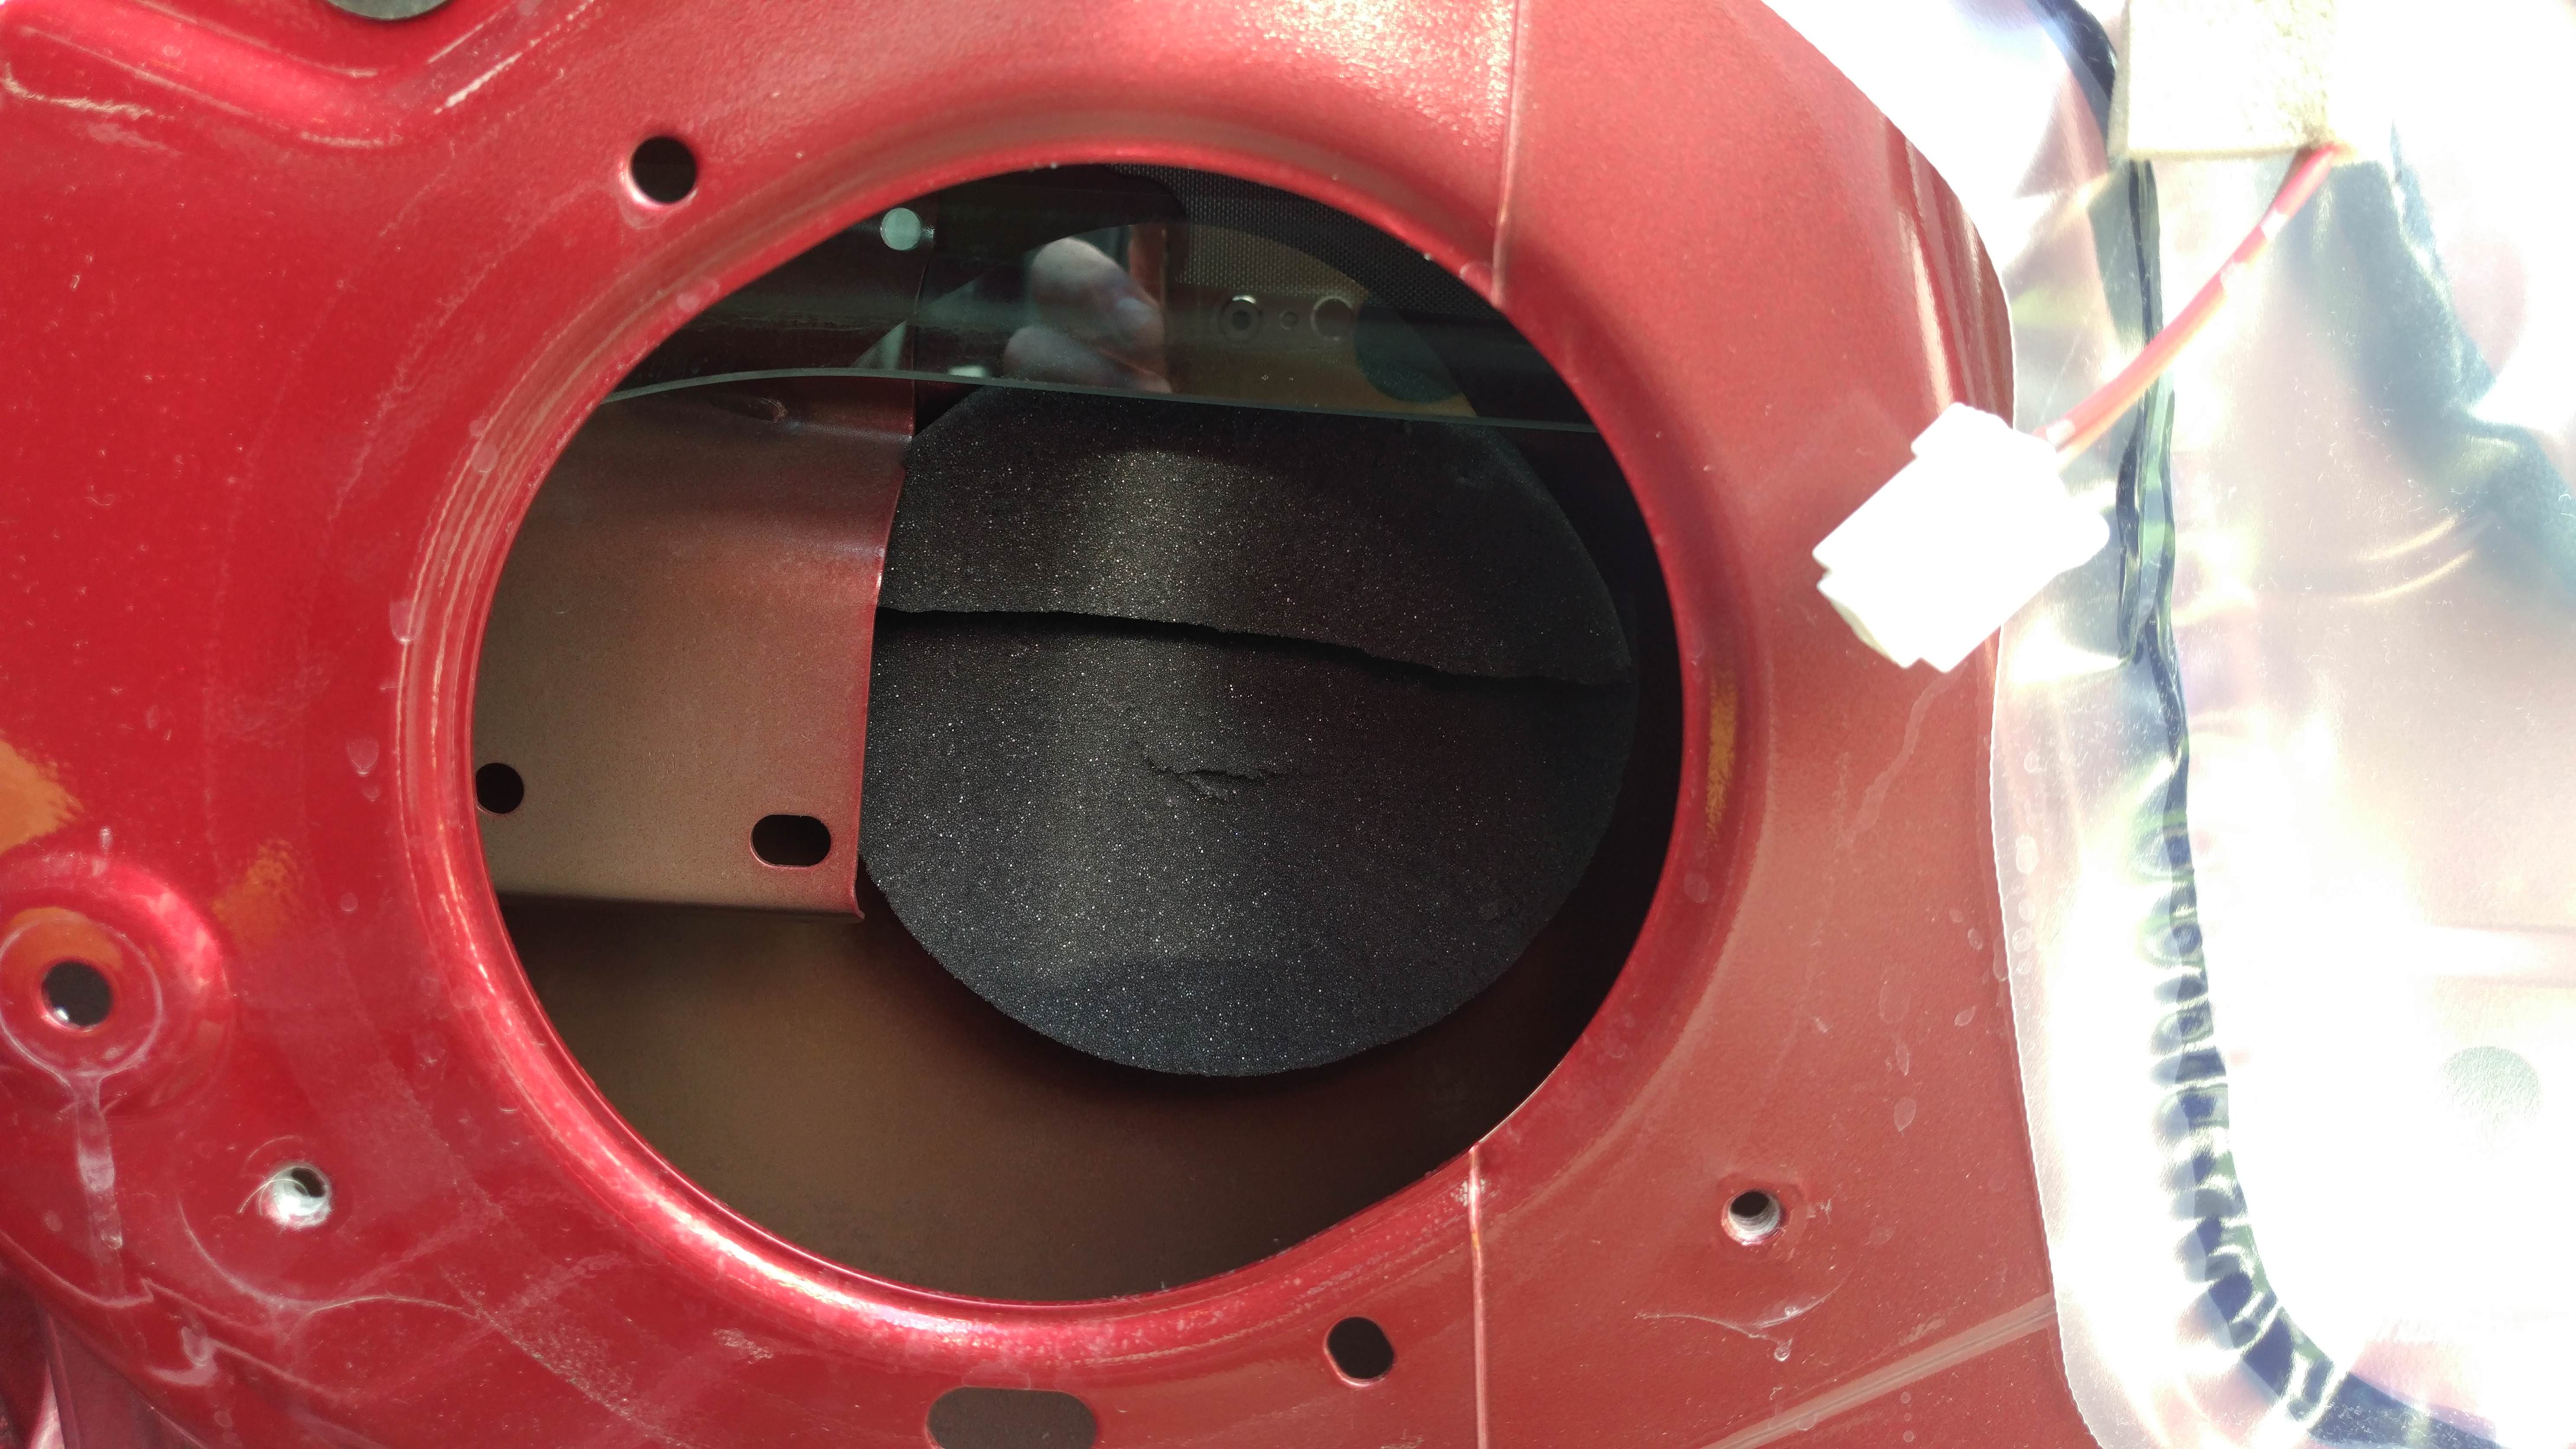
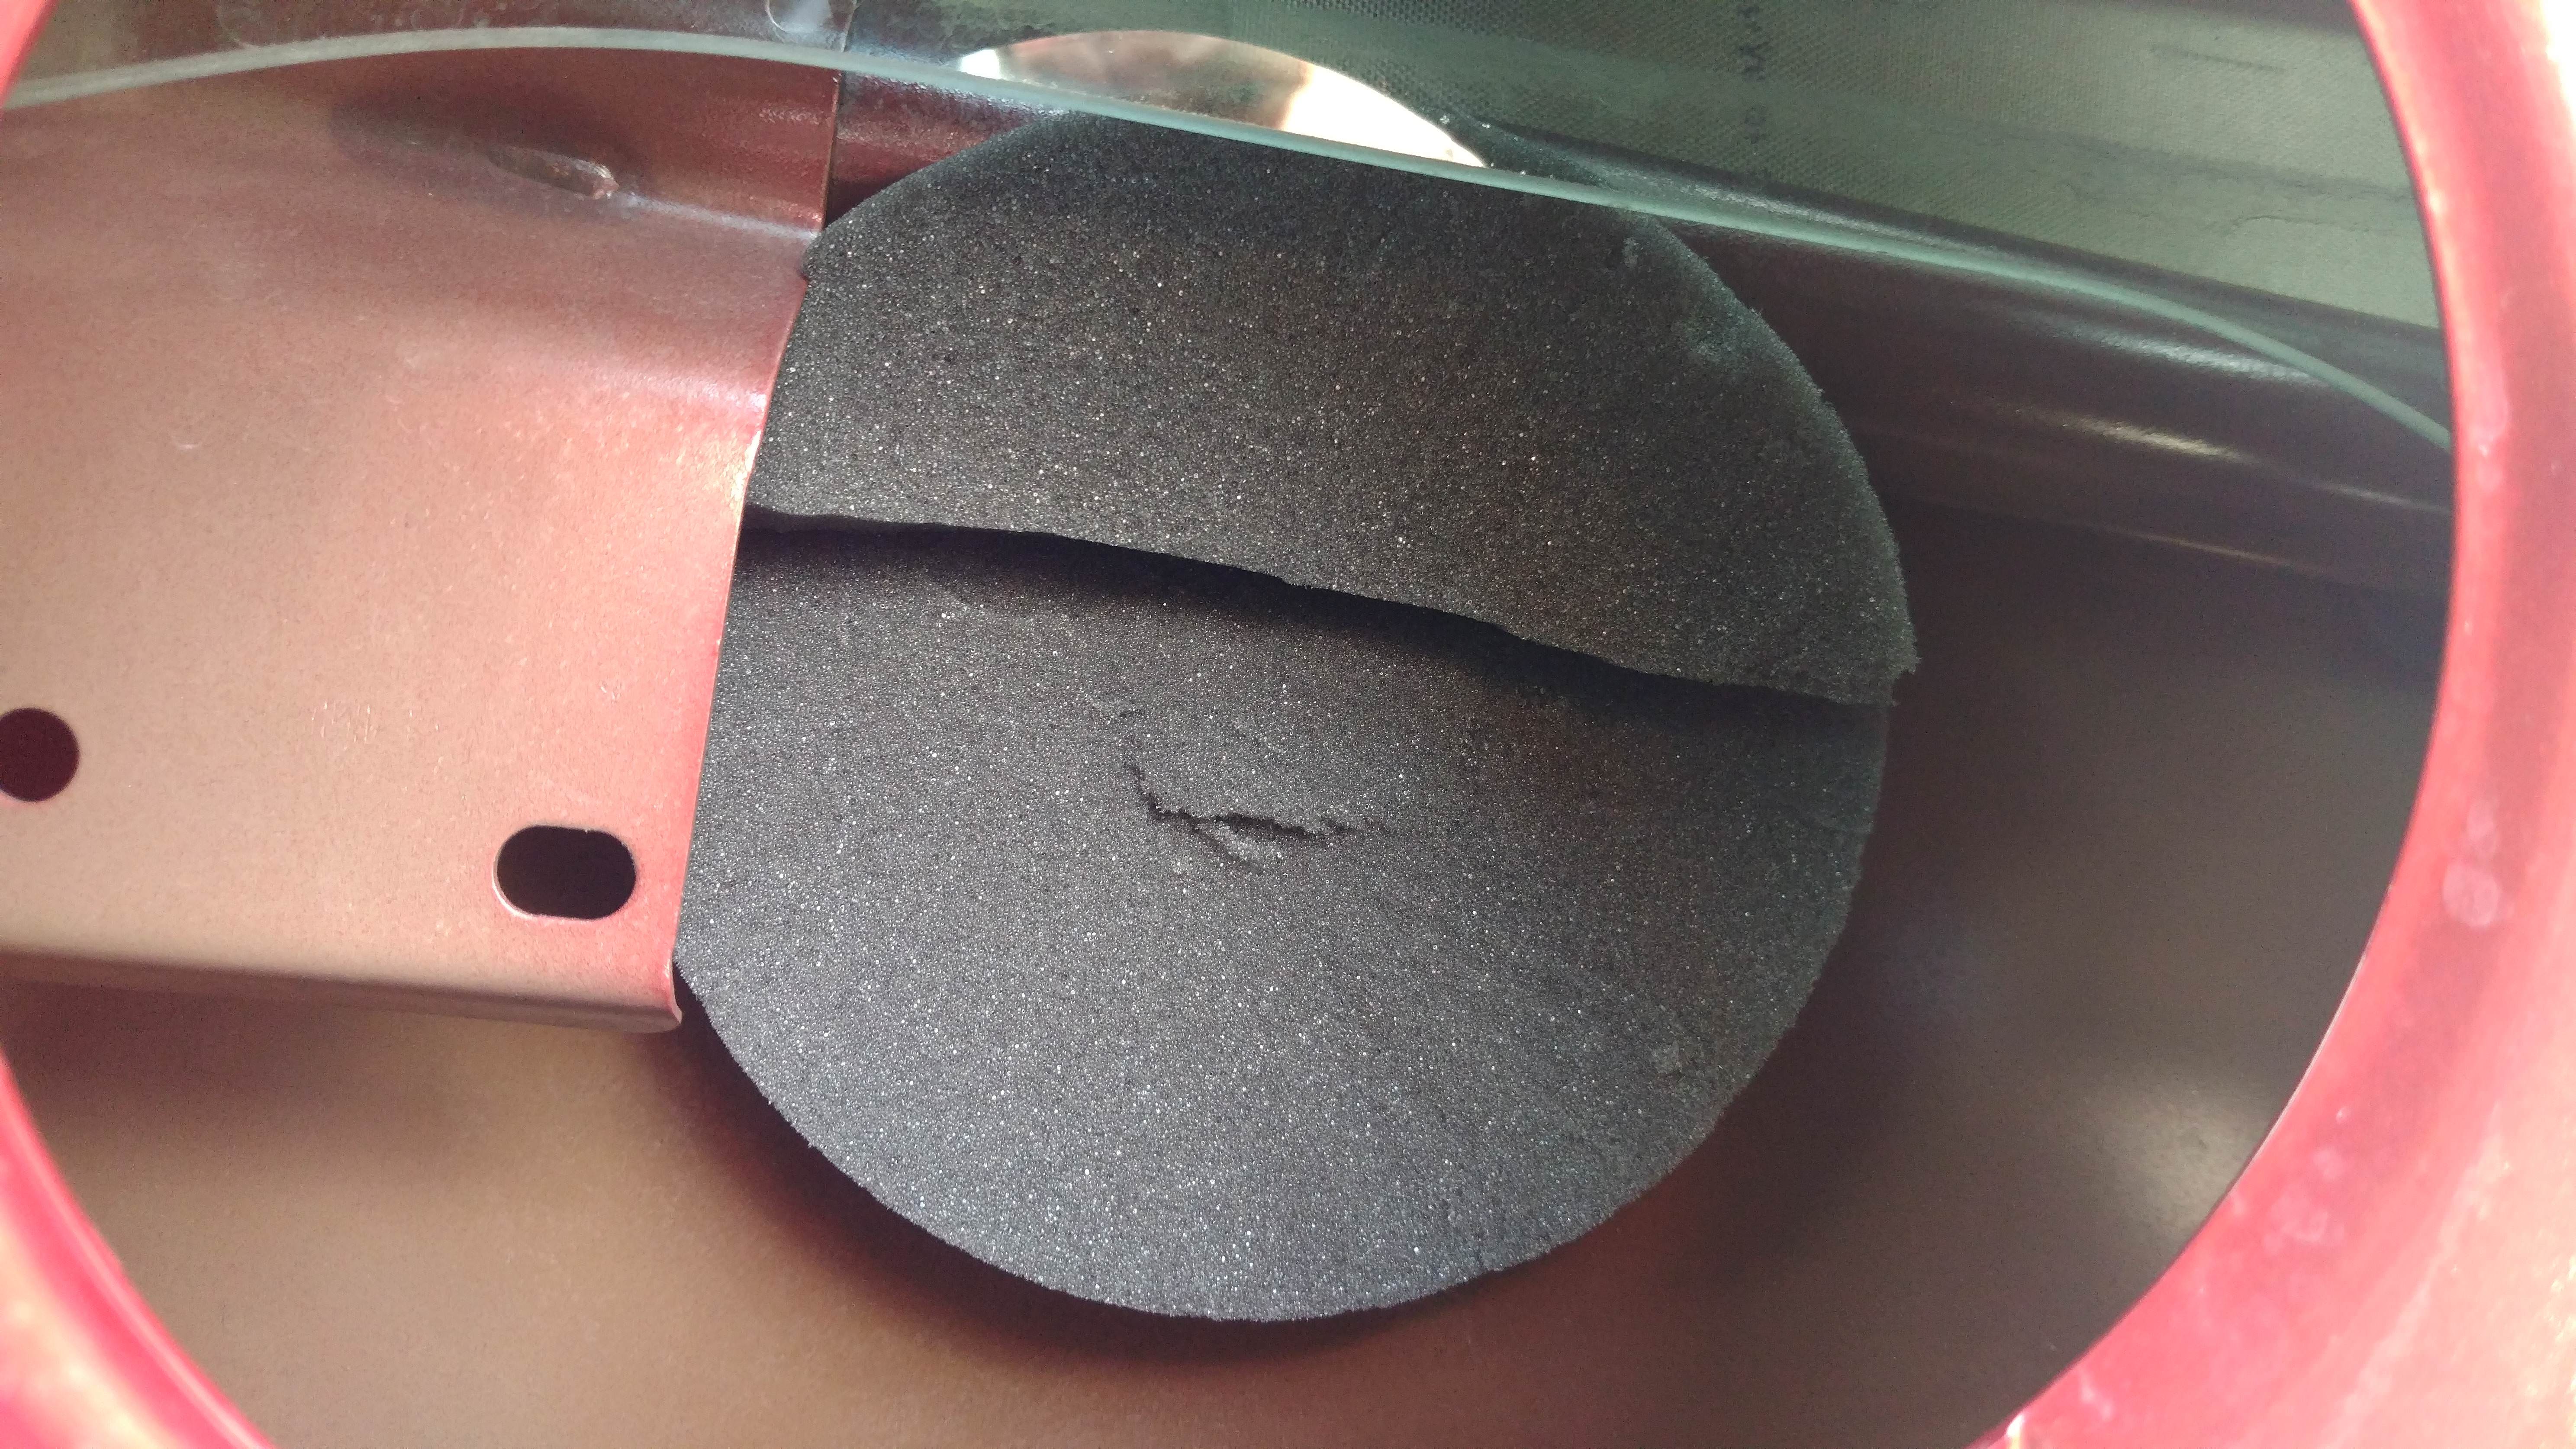
https://smile.amazon.com/gp/product/B016LFVKHY/ref=oh_aui_detailpage_o00_s00?ie=UTF8&psc=1 They are just two foam rings and a center piece. The center piece is supposed to stick on the backside of the door behind the speaker to absorb sound waves from the back of the speaker so they don't reflect off the metal of the door.
Unfortunately, there is a metal reinforcing bar that goes horizontally across the door behind the speaker and some metal bracket or something on the left side. I had to cut the foam to about half its thickness to fit behind that bracket then cut the top third off the circle. I fit the bigger piece of the circle under the bar then the smaller piece to the bar, overlapping the bigger piece a bit . As you may be able to see, I did all this with the window lowered just to be sure the window wouldn't hit anything. The window is pretty much out of the way.
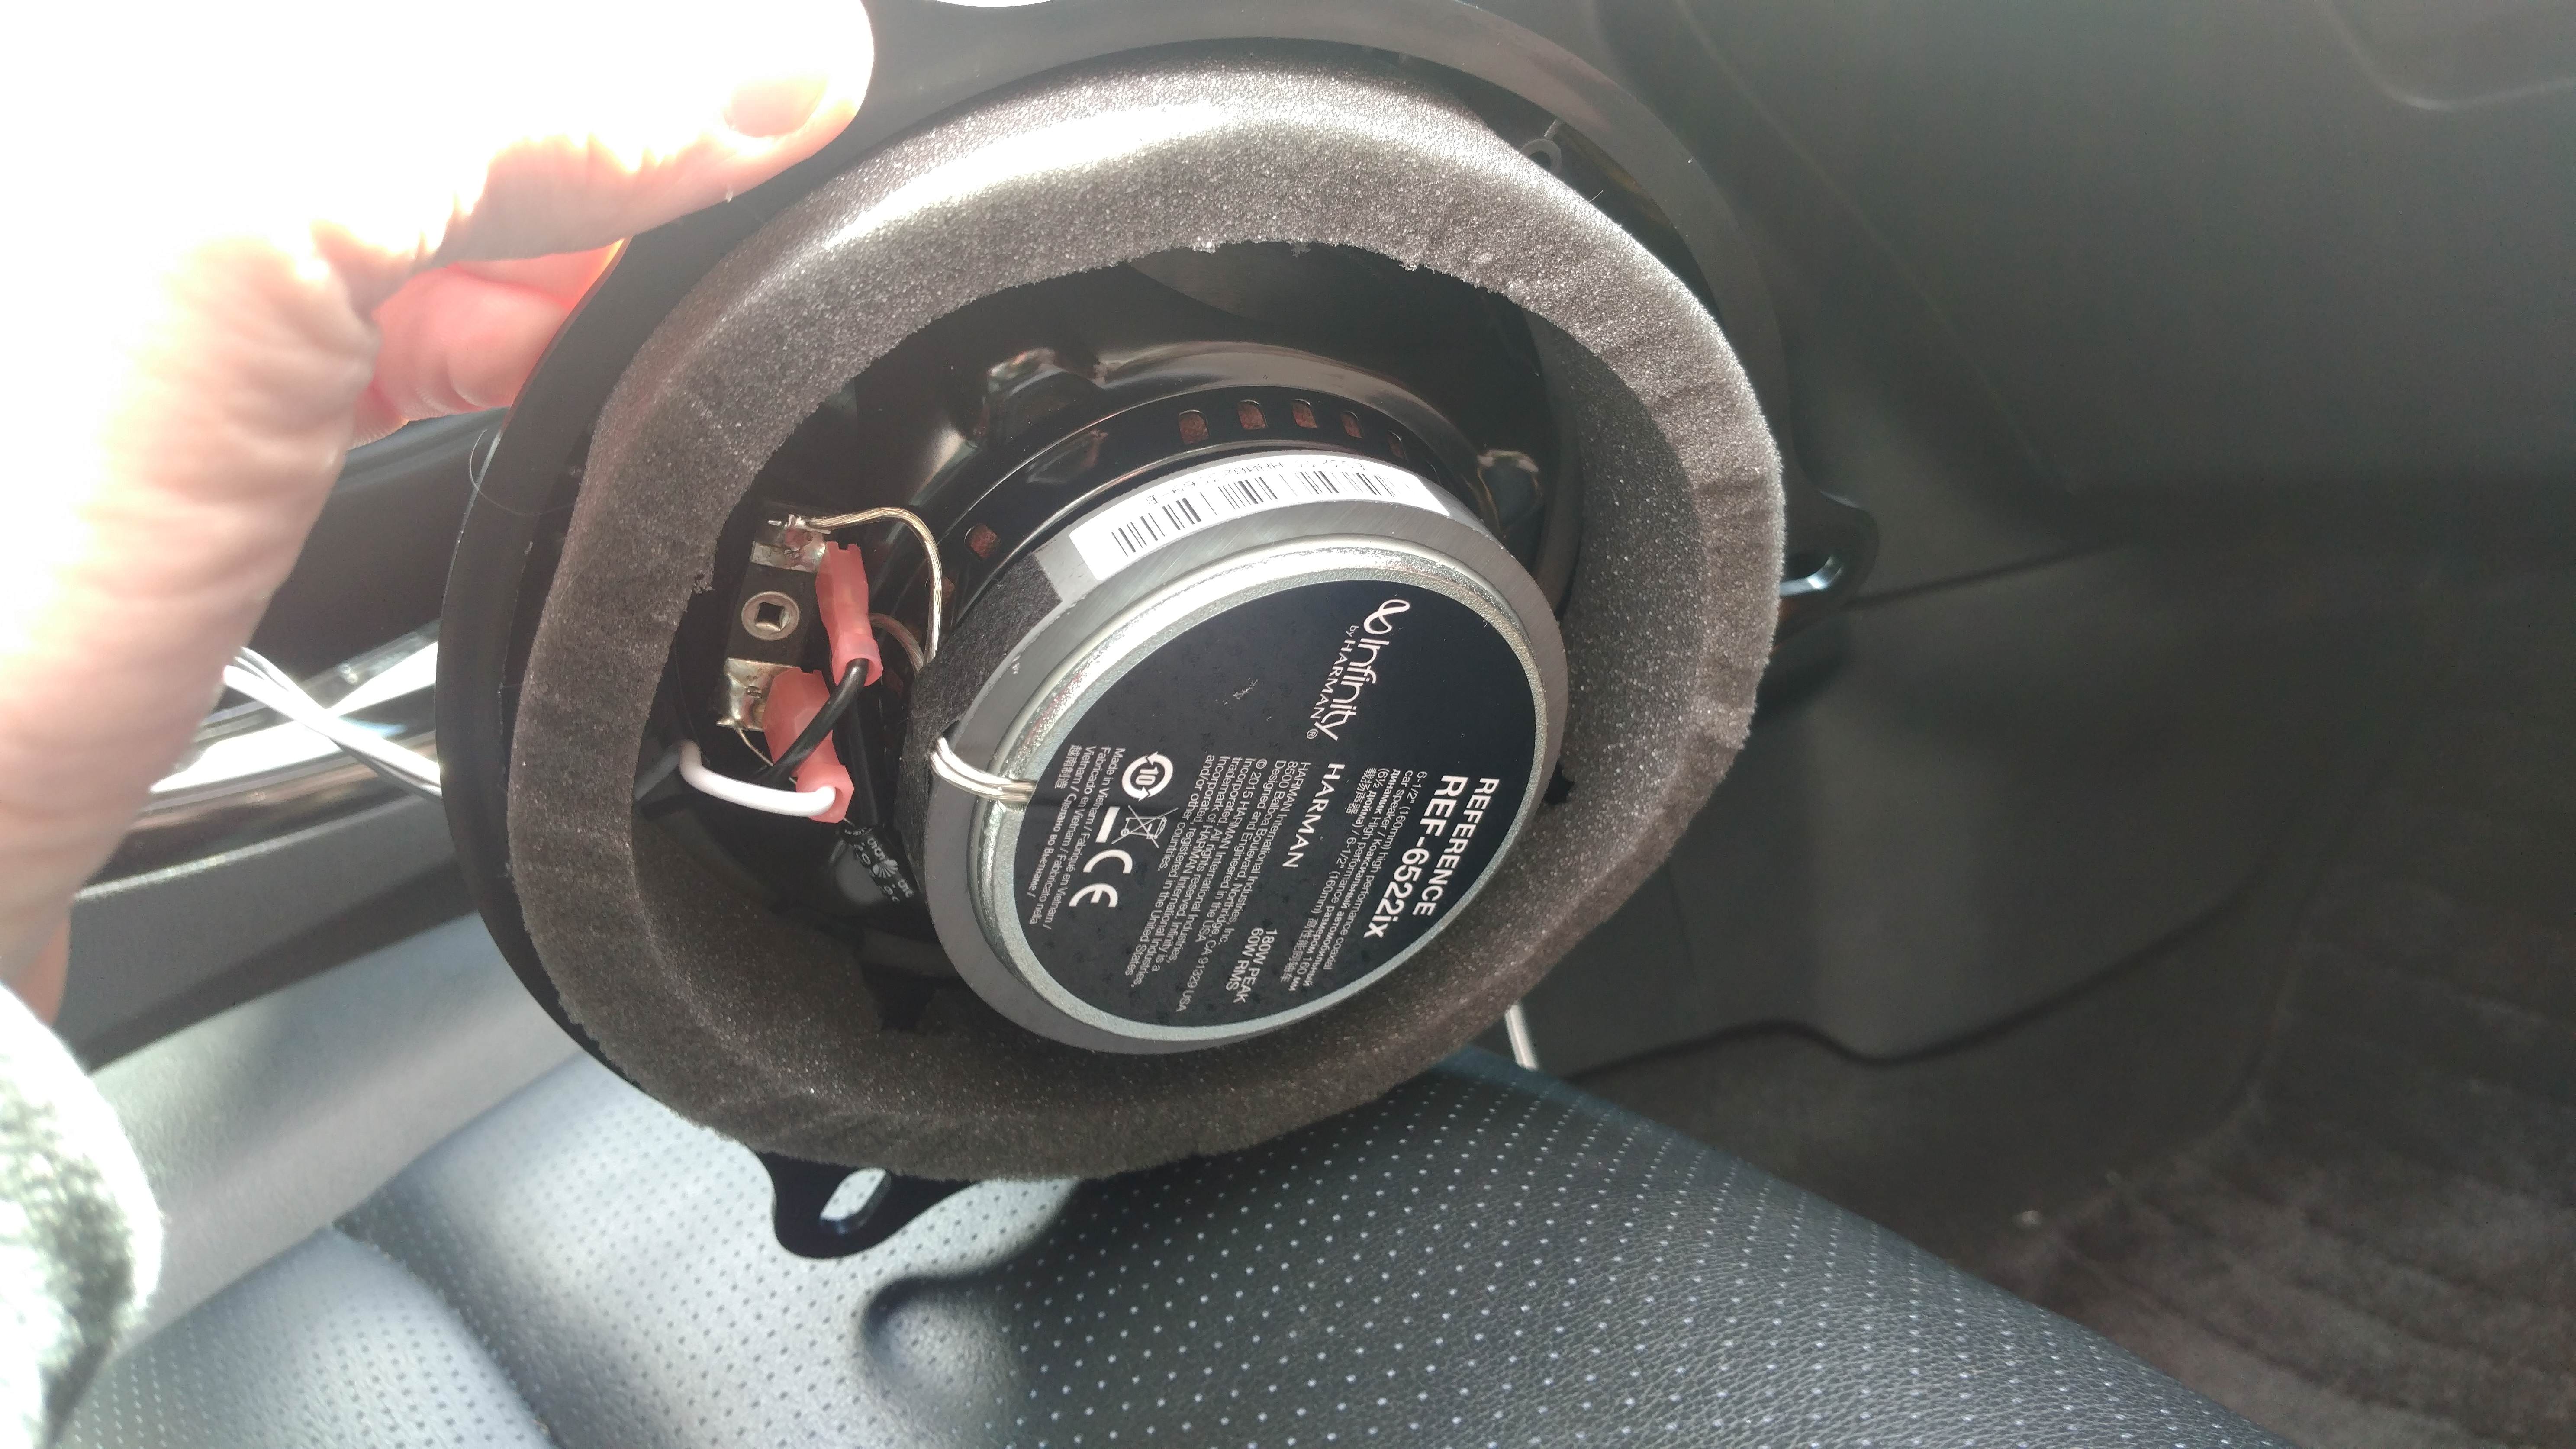
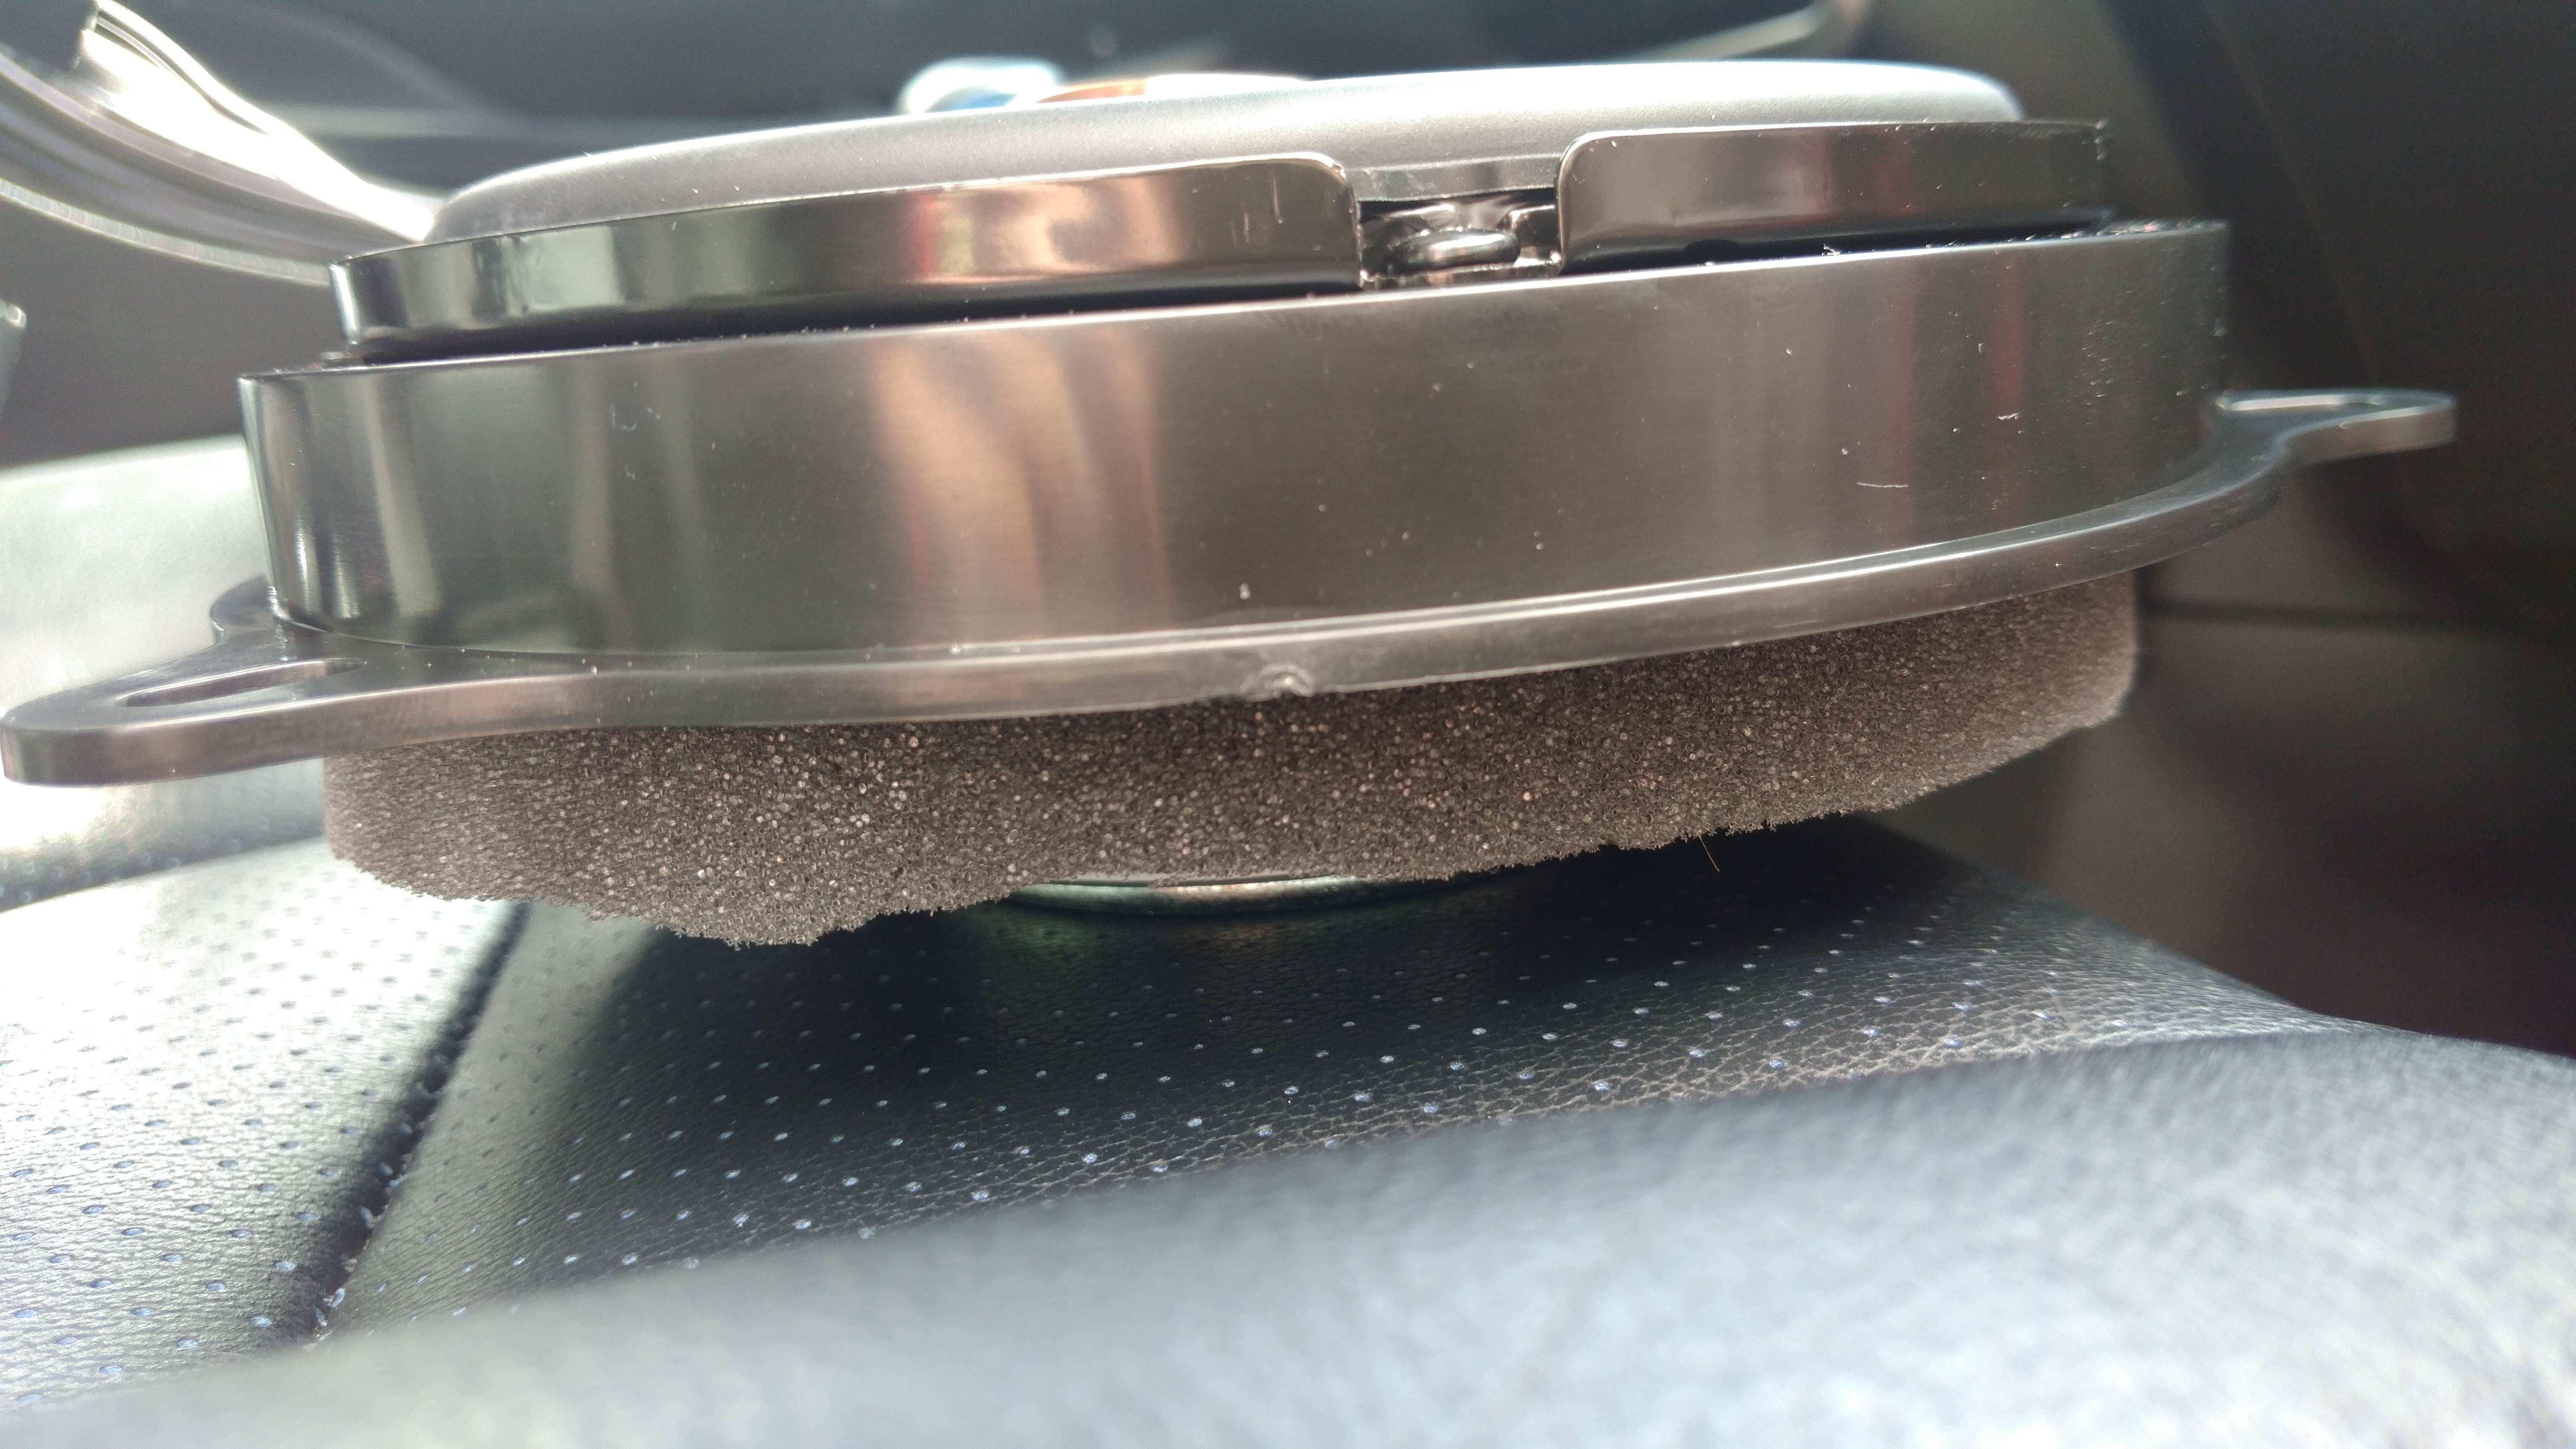
The smaller ring I stuck behind the speaker cone after I installed the bracket. This ring is designed to be cut so about 1/4 inch sticks out behind the speaker. I just eyeballed it so I probably have closer to 1/2 inch, but it is designed to be smushed between the speaker and the hole in the door the speaker is attached to so it doesn't have to be perfect. This worked fine. To make it fit with the adapter I also cut out notches on the bottom of the ring around the four screws that connect the speaker to the adapter. That way I could get the sticky end of the ring flush with the bottom of the speaker and make the ring fit the way it is supposed to. Basically, the adapter overlaps the speaker where the screws attach so you have to cut the foam around that to make it fit. I hope I explained that well enough because I don't have a photo of that part.

Here is where I had my little problem. I installed the rear speakers first. They connect to the door with the bolts in an upside down pattern with two bolts at the top and one at the bottom in the middle. I assumed all the doors were the same so I connected the bracket to the front speakers the same way. The front speakers are mounted rightside-up with one bolt at the top and two bolts at the bottom so the tweeter isn't pointing exactly where I want it to. I had also connected the smaller foam ring to the back of the speaker and I couldn;t remove the speaker from the adapter without ripping out the foam so I just mounted it the best I could. At least the tweeter isn;t pointing down, and the A-pillars have a tweeter in them so this tweeter is sort of redundant. Everything sounds good so I am not sweating it.
The last step is to attach the bigger ring to the outside of the speaker. This ring is designed to fill in the gap between the speaker cone and the speaker grill on the door panel and funnel the music into the cabin. I have read some people with other cars having to trim this ring to fit but I left it as-is and I was able to reconnect the door panel without any issues.
If you have any questions I would be happy to answer them but keep in mind this was my first time doing this so I am by no means an expert. Still, I wanted to document it as best I could so other people who may want to try this won't be going in blind. I am happy with the results.