

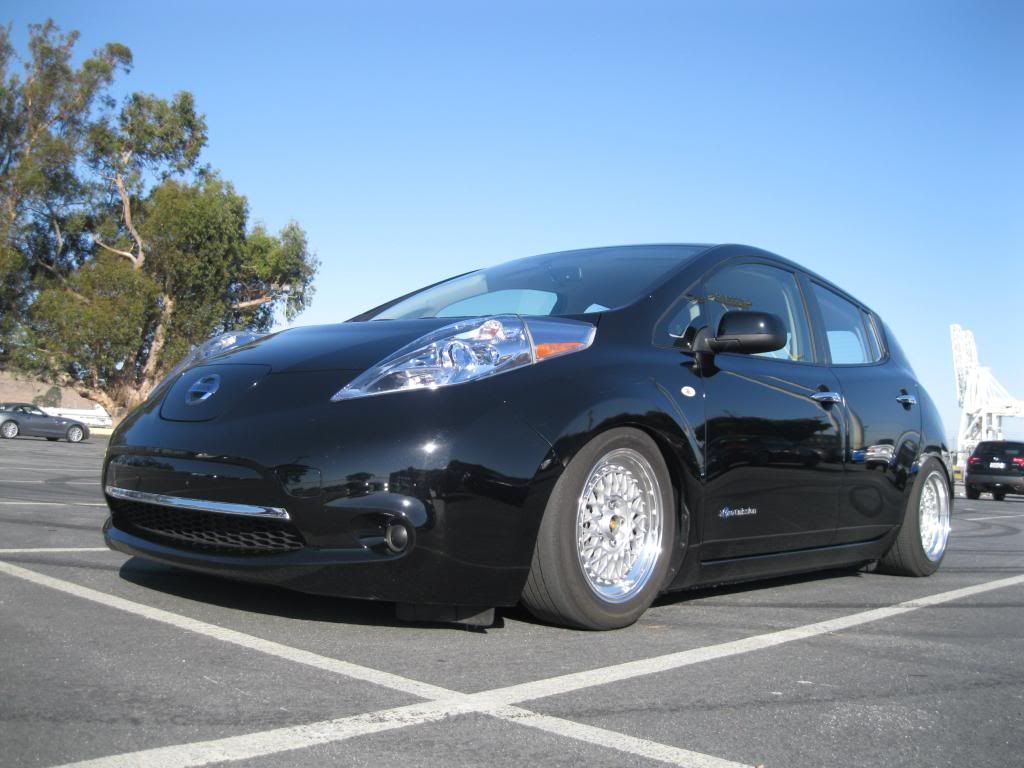
I’ve been running this set-up for a while and thought now would be a good time to do the write-up in case anyone else is looking into going this direction.
I’ve never installed or driven a car with air suspension before so it was a bit of a learning experience and definitely a ‘project’, but its been fun and the car certainly gets a lot of looks and now stands out from the other 10 Leafs at my work.
For the Installation:
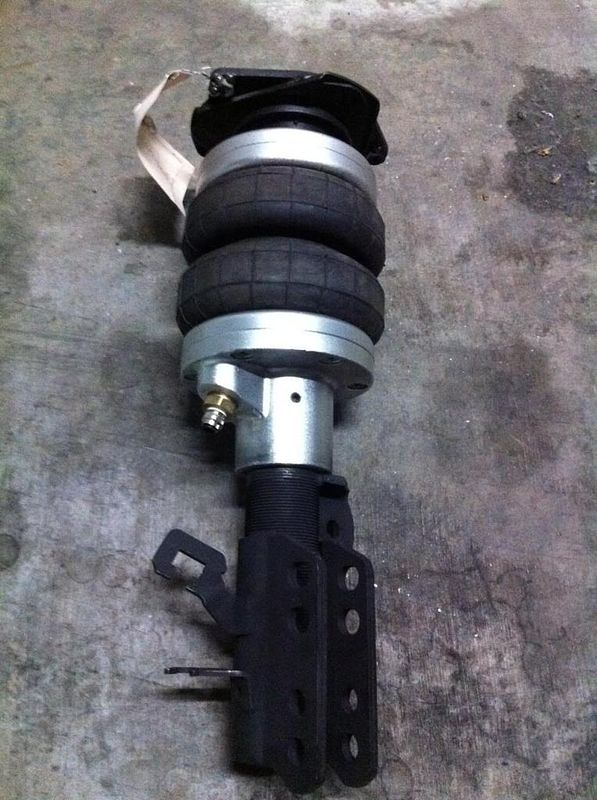
Front – This required a custom built strut that was put together by airbagit.com. This took a few tries to get right mainly due to the top strut bearing. The idea is you use the strut bearing form the stock strut but this wont work with the Leaf strut because there really is no bearing in the top strut mount. So a custom one had to be fabricated. The air struts that they build typically have 2-1/2 inches of travel up or down from neutral, or stock ride height. Because of the large amount of wheel gap on the Leaf I wanted to go lower than that so I had them custom build the strut for an extra inch of travel. Additionally on the lower clevis mount there is an extra set of mounting holes. Using the top holes provides an additional inch of lowering. So now fully aired out the car is 4-1/2 inches lower than stock and when raised up it is about 1 inch lower than stock height.
However, once the strut was right, the installation was pretty simple, just a basic strut swap. But one additional hang up is the link that connects your sway bar to the strut. The stock one is too long so I had to order another pair from Nissan and I shortened them.
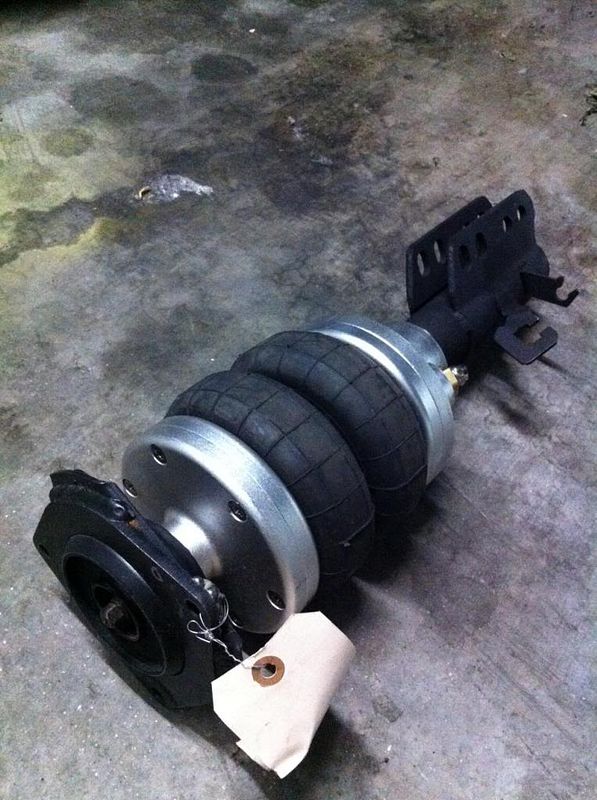
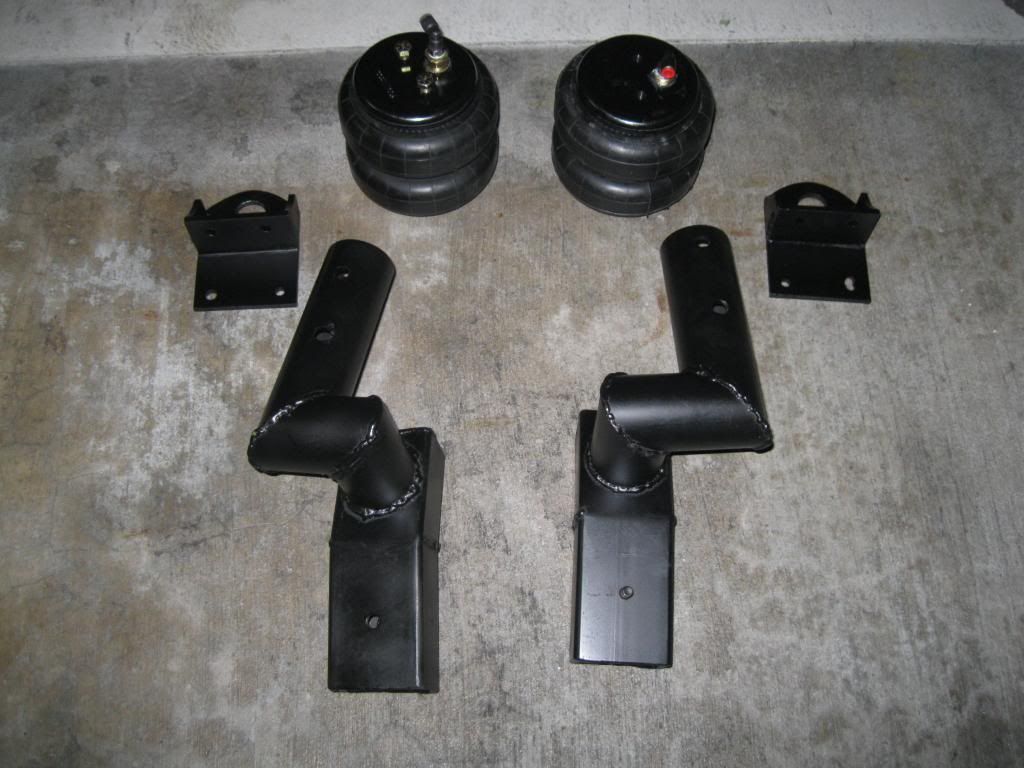
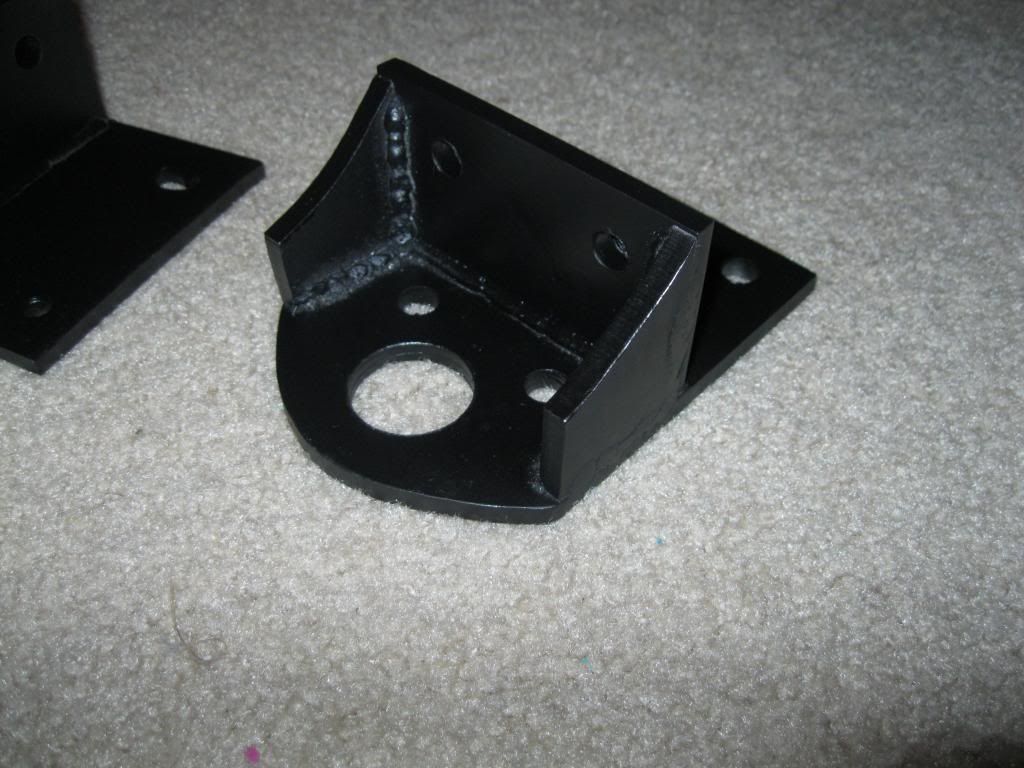
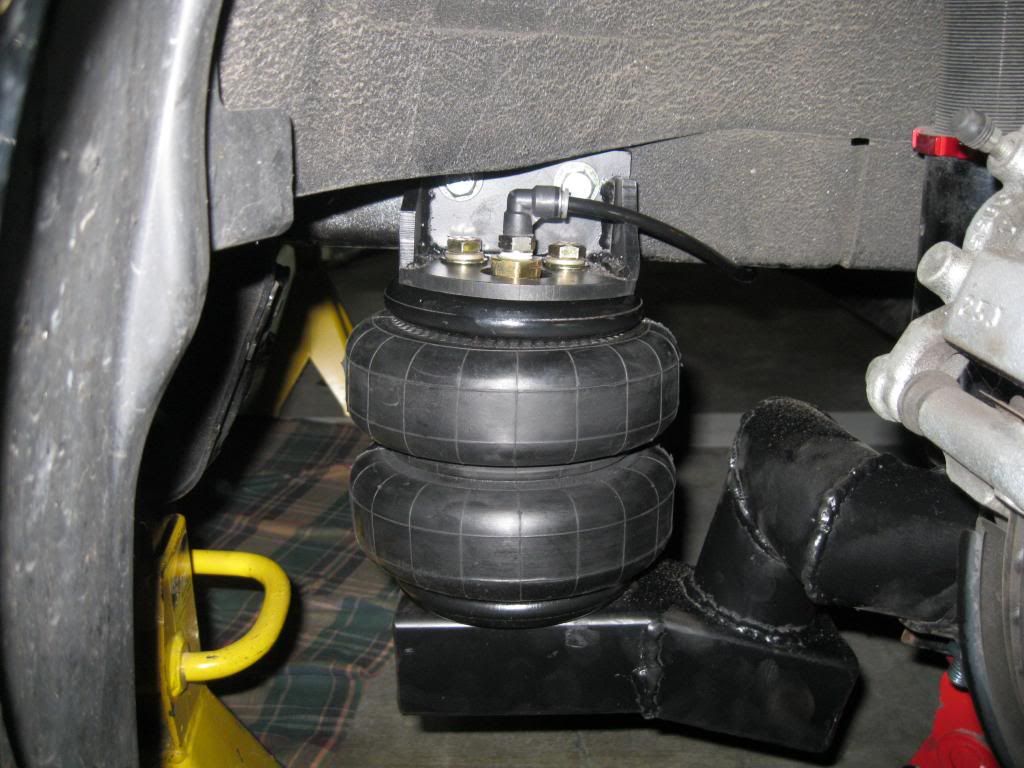
Rear – I have built two set-ups for the rear mainly because the first set-up didn’t allow enough travel to go as low as I wanted. Both set-ups used a 5 inch double convoluted air spring. This is the typical ‘air bag’ that is pretty common. I built my own mount for it so that it could be mounted directly where the stock spring was located and just replace the stock spring. This works great and will allow the car to lower 3 inches. Since I wanted to go lower I built an extension that inserts into the trailing arm and extends towards the rear of the car. Putting the air spring here allows for more suspension travel and the car will now lower 4-1/2 inches. This also required fabrication of a top mount that you can also see in the picture below.
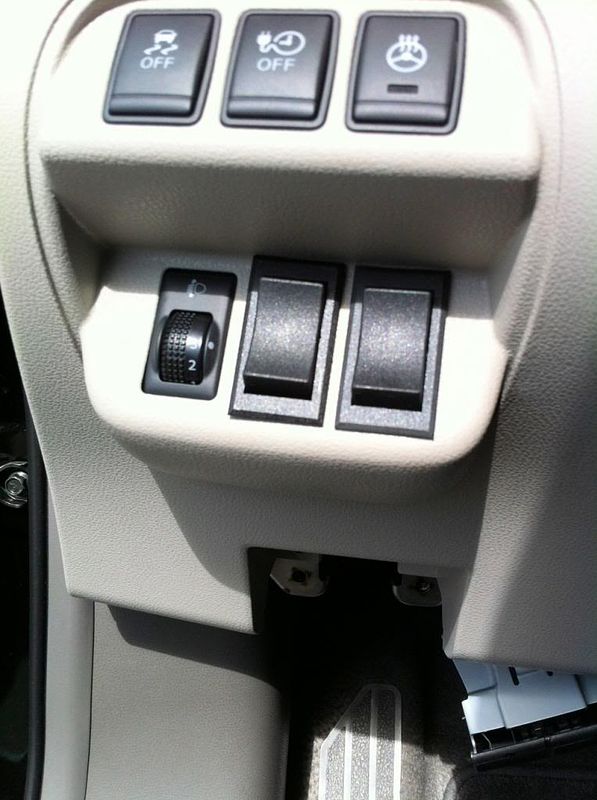
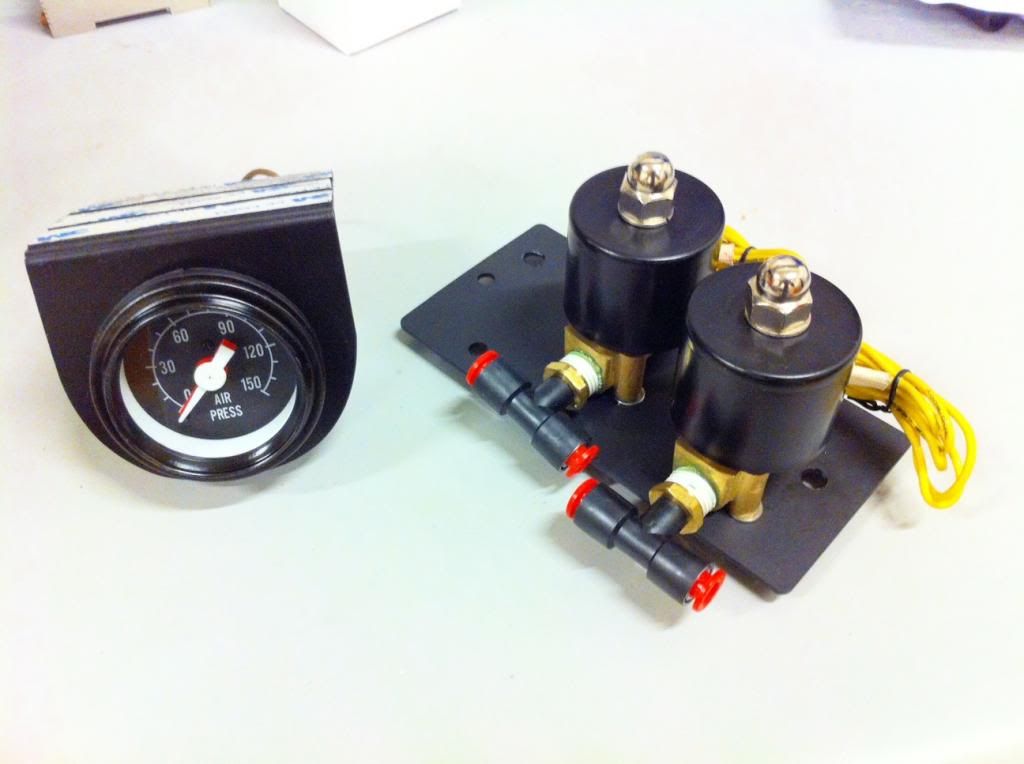
For the air management there are many options from a manually operated ball valve to fully digital iphone operated interfaces. I wanted to keep it simple so I found two Single pole/Double throw momentary contact switches that would mount in the existing dash holes, where the blanks are, without any modification.
The switches are connected to solenoids that open and close manual valves to let the air out of the suspension. I can make the whole car raise up at once and then deflate both rear springs at once and each front strut independently. I am only using a compressor and no tank. So inflating takes a while but I’m not trying to make this thing hop or do any tricks. The compressor I’m using still fits inside the side pocket in the trunk, where the stock Nissan compressor is stored. In fact you can even use the stock Nissan compressor to inflate the suspension if you want. That is what I was doing to test out the system.
Overall I’m pretty happy with the set-up. The ride is stiffer than stock but still reasonable and can be adjusted based on how much pressure you have in the air springs. The ride gets more squishy and bouncy with less pressure so when driving around its best to have it raised up.
I also noticed that it is bouncier with the second set of rear mounts that I built. This is because the air spring is now located farther back than the shock. So to picture this consider that the pivot point of the rear suspension is in front of the rear wheel. Just an example, say that for each inch of upward wheel travel the shock may compress an inch but the air spring will compress maybe 2 inches. This makes it more difficult for the shock to do its job and dampen the rebound of the spring. Ideally you want the spring closer to the pivot point than the shock so that the shock travels farther than the spring compresses and has more time to ‘react’ to the action of the spring.
 !!! Impressive! I never thought a stanced Leaf would look so good. Nice job! You're doing God's work Armadillo. :mrgreen: