Corrosion Control - Rust Proofing a 2018 Nissan LEAF SL

My Nissan Leaf Forum

Help Support My Nissan Leaf Forum:

This site may earn a commission from merchant affiliate links, including eBay, Amazon, and others.
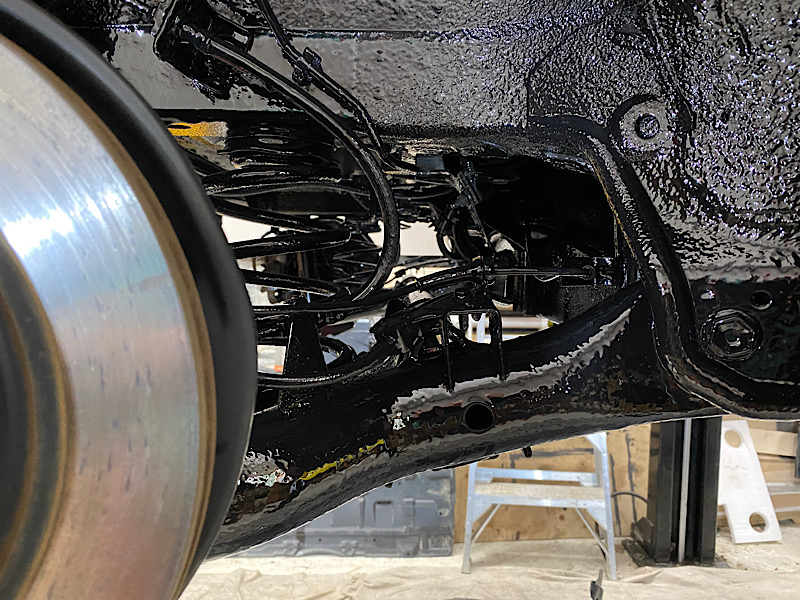
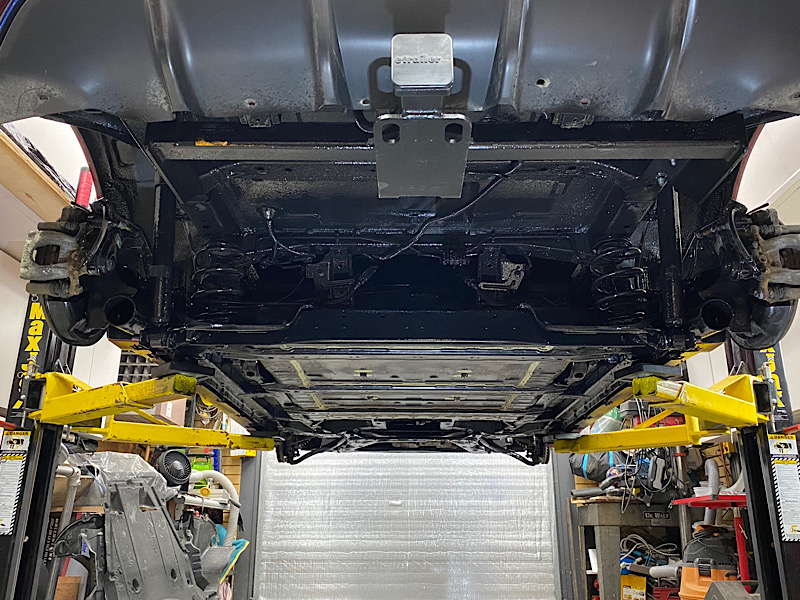
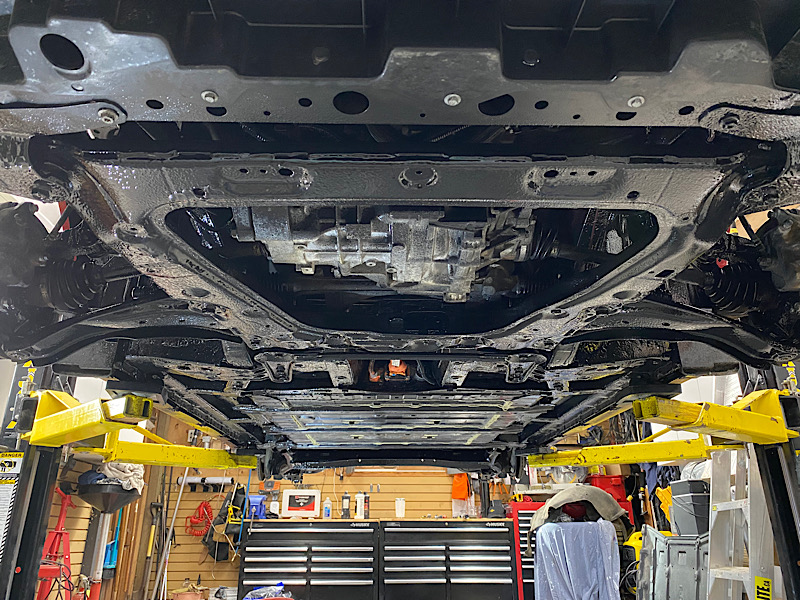
All done spraying the Noxudol 300 and 700.

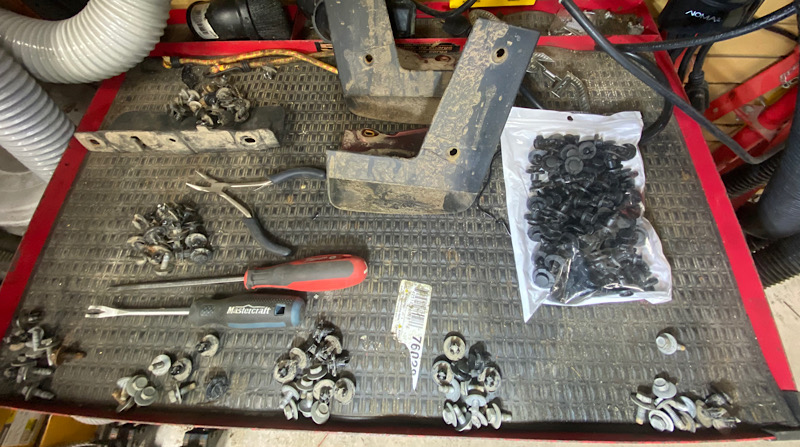
This is the collection of clips and 10mm bolts from the four fender liners and five underbody panels. You can see the new bag (which you will need) as the OEM clips snap easily.

042111_1.jpg


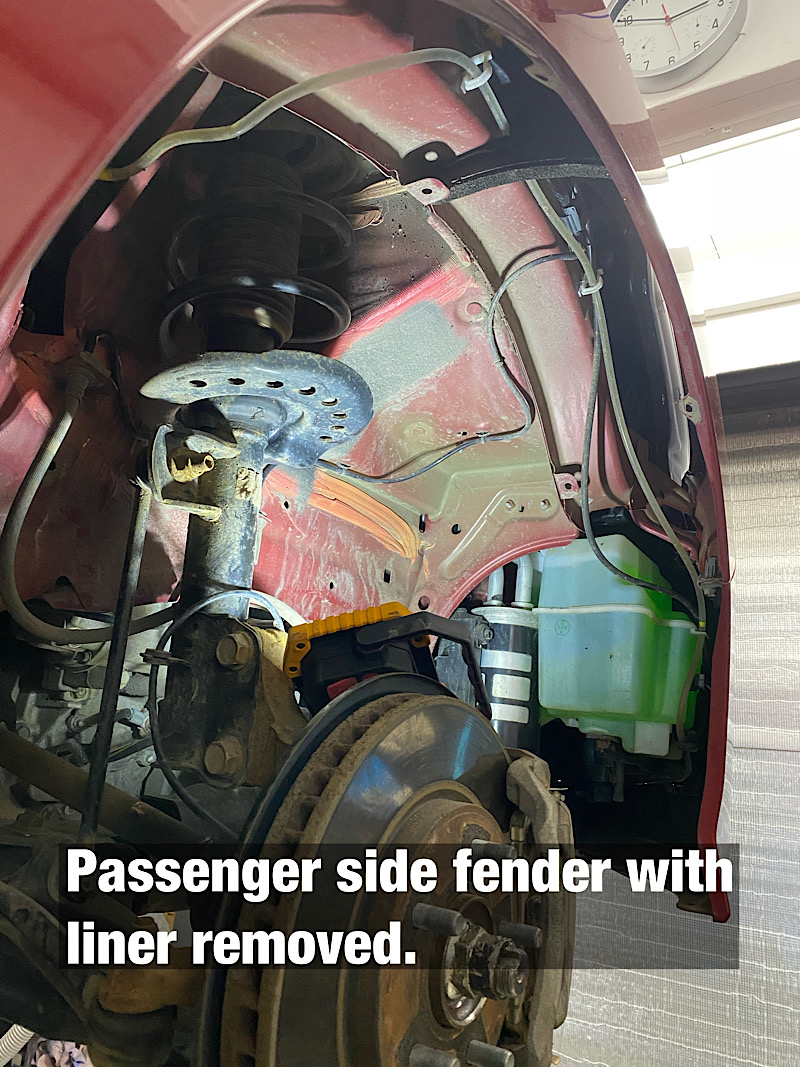
This looks like the AC dryer, and windshield washer bottle tucked into the passenger side fender. The liner completely protects these bits.

042111_2.jpg


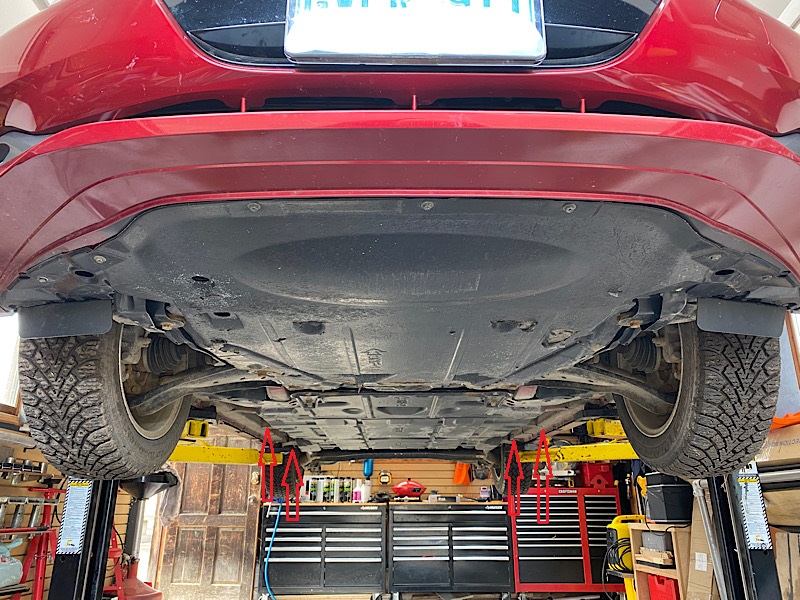
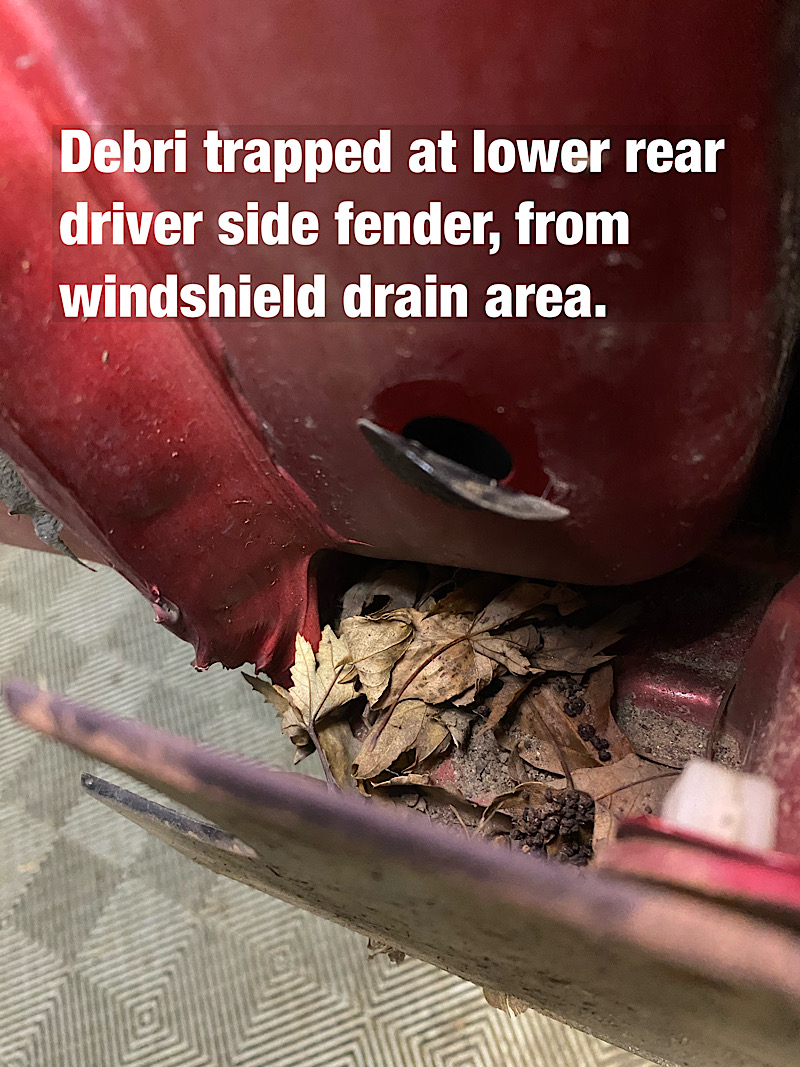
I've seen on this on most vehicles. Eventually this area will fill up with debris which stays wet, and then usually causes rust in this area. Needless to say, you should keep leaves from washing down the inner fenders.

042111_3.jpg


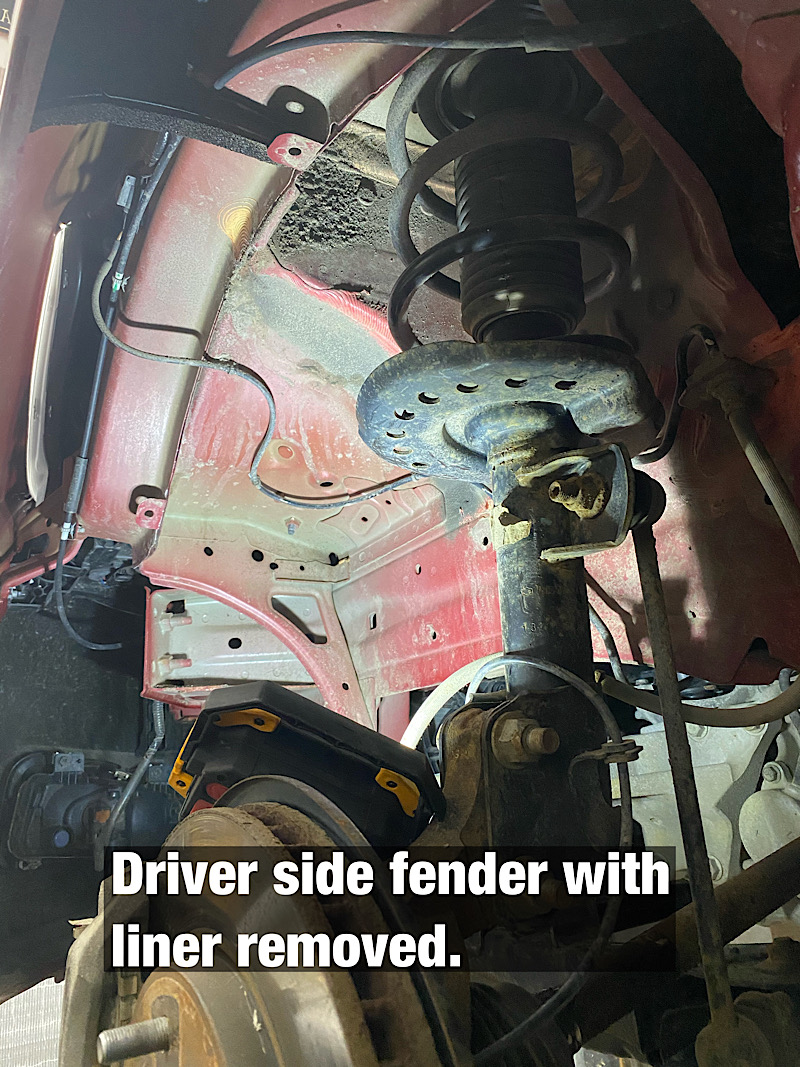
Not much hiding in the driver side fender.

042111_4.jpg


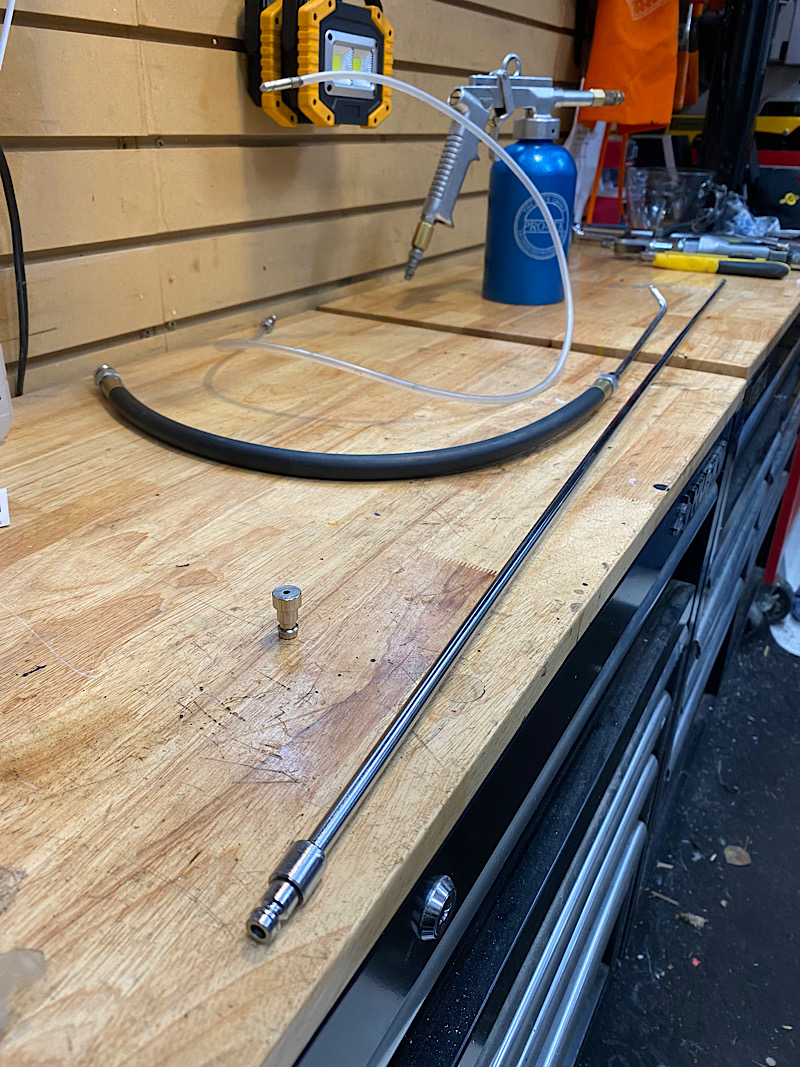
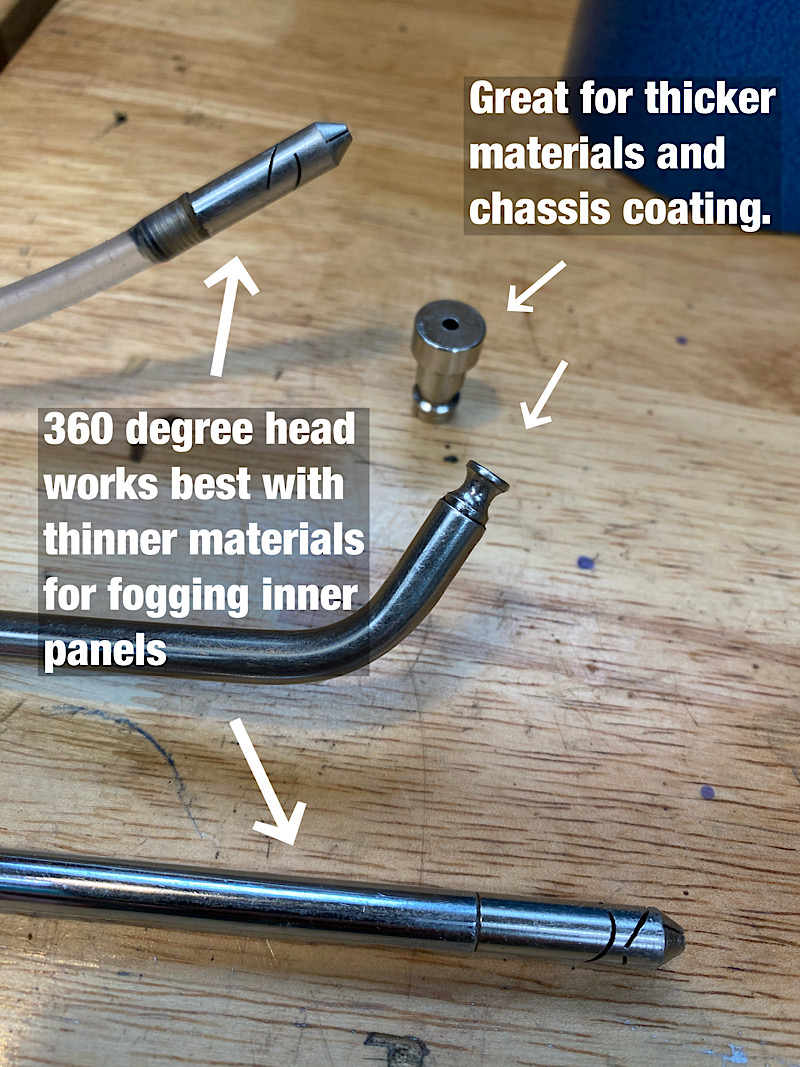
This is the Noxudol 300 which is heavier for exposed chassis bits. It took about 5 litres. I used the Noxudol 700 for inner panels, inside doors and unexposed frame rails etc. as it is clear, thinner, and has a higher creep rate than the 300.

042111_5.jpg


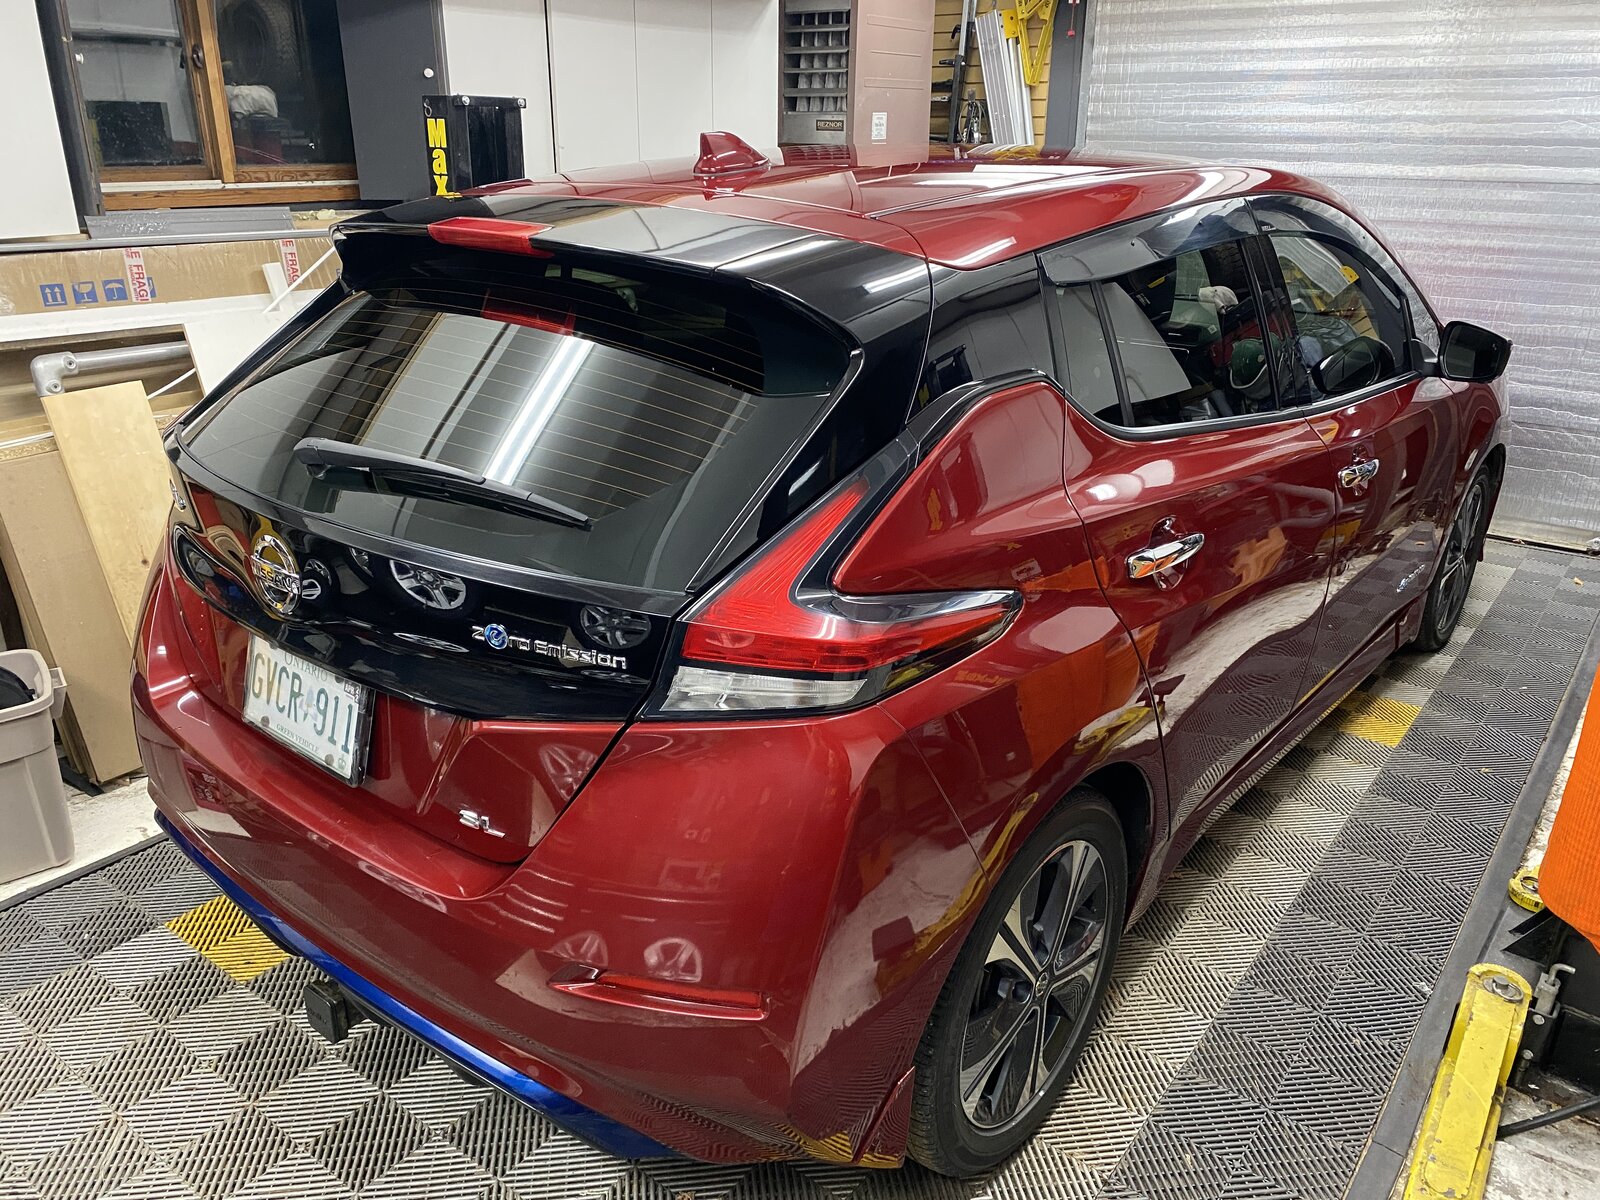
It should take around 3 days for the Noxudol to "dry" to its final waxy texture. It never really dries, but stays pliable and waxy like a proper cavity wax should. I'll start reassembly in a few days. Needless to say, the prep to do this job properly, and spray is easily an 8-10 hour proposition. On the upside, this car is going a last a lot longer with the Noxudol application and will only require minor touch ups yearly.
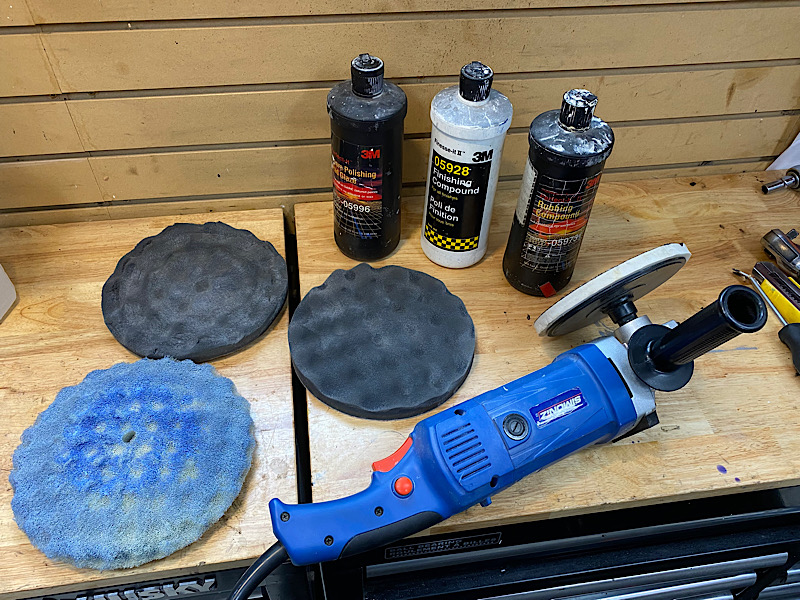
 
2 days later and the Noxudol 300 and 700 is still quite wet, which is a good thing. It has no solvents..so the upside is a lot of seam penetration as it slowly cures.

042113_1.jpg


042113_2.jpg


042113_3.jpg


This is the assortment of cavity gun tools that I use. The small tip is used the most as the largest surface is typically exposed chassis. That longer rod is handy for rear quarters, doors, and truck bed sides via the tail lights.

042113_4.jpg


042113_5.jpg


While the car is sitting on the hoist, I figured I'd tackle the job of addressing any rock chips, scratches etc. The variable speed polisher, 3M pads and a few different grades of compound come in very handy for this work. I have painted a few cars in the shop, so this gear is the last step in color sanding new paint to make it perfect :) I still have some 1200/1500/2000 grit paper in my stash to address the paint repair.

042113_7.jpg


Some remnants of the previous owner (driving school) decals. This is addressed in about 20 seconds with the polisher :) You can see a bit of "D".

042113_6.jpg


Along with the decal remnants, you can see that the factory paint "orange peel" in the clear coat is also taken to near zero with careful selection of the pad, pressure, rpm, and compound. I would normally wet sand with 1200, then 1500 and 2000 grit paper before buffing if doing a complete color sand. The end result is a true mirror finish. What you see below is clean..no wax. Just the compound removed with a dry cloth.

042113_8.jpg


I've filled some chips with touch up paint and will wet sand them with 1500/2000 and buff them out. Stay tuned :) Inspecting the car once or twice a year and addressing any paint chips is part of keeping rust at bay. Even a small chip near the window trim etc. can introduce corrosion that creeps under the paint and cause issues later.
 
The car is done with exterior work, and finally the Noxudol 300 (4 days later) is firming up. The manufacturer claim of 3-7 days sounds about right. I've finished the car exterior touch ups and paint work. Here's what it looks like after finishing with the foam machine pad and 3M Polishing Glaze:

shinyleaf.jpg
 
Thanks for this write up! You have checked a lot of corrosion which was on its way to rendering a nice EV into a junker. This is precisely why I bought a used blue 2013 so I can put my white 2013 up in the air for a month or two and go after the corrosion I saw when doing some brake work. The blue 2013 is in absolutely spotless condition btw, zero corrosion.
 
Knight, the other two vehicles in the "fleet" are done already. They just need quick yearly touch ups now, as will the LEAF going forward. It's just warming up around here so it's time to move on to summer construction projects.

Mike, agree 100%. The time up front now pays off 10-15 yrs down the road. We tend to hang on to vehicles here for a long time. Our 03 CRV is going to my daughter, but is still going strong at 18 yrs later. Daughter and car are the same age..ha :)
 
The LEAF project is done and back on the road :)

The cabin air filter on the LEAF is a real PITA to access. Our 2016 Highlander took about 1 minute to swap, the LEAF more or less requires removal of the glove box and 20-30 minutes :-( In any case it was time.

2018 LEAF Cabin Air Filter Service at 58800 kms:

042117_3.jpg


Back on the road! I like the way the new hitch is 90% hidden under the rear aero panel:

042117_1.jpg


Token glam shot of the car with the OEM (summer) rims, new Ecopia low rolling resistance tires and 20% tint.

042117_2.jpg
 
denwood said:
The LEAF project is done and back on the road :)

The cabin air filter on the LEAF is a real PITA to access. Our 2016 Highlander took about 1 minute to swap, the LEAF more or less requires removal of the glove box and 20-30 minutes :-( In any case it was time.
I haven't changed my 2020 yet, but in my old 2013, you only needed to remove the dust shield above the toes of the passengers and you had access to the filter. Since it snapped out, with the right flashlight so you could see what you were doing, it was a quick change. Sounds like some added complication was put into the Gen 2 models :?
 
I'm sure many folks just snap off the filter cover trying to do it from underneath. There is a hatch in the glove box that when removed would help see what you're doing. That said, given the contortion you would have to do, it's much easier to just remove the eight screws and pull the box. You just need to pop the side panel (against the passenger door ) and remove the lower access panel before pulling the box.

To remove the filter cover, you really need to insert a small slotted screwdriver on the cover's top tab, and depress it gently downwards while pulling back on the cover with your other hand to remove it. This avoids breaking it, as the taps are not very robust. To do this with the glove box in place is pretty hard unless you're a tiny flexible dude :)

In either case, Nissan did not make this an easy access item!
 
1 year after application there were about 8 square inches of touch up required to 2 areas behind the front wheels. The car saw about 40km / week of dirt roads in the summer, so the chassis behind the front wheels was consistently sand blasted, In any case, about 30 seconds and maybe 1/5 can (aerosol) of the Noxudol 300 was required.

Here are the touch up areas that need some attention (old photo, before application)

leaf22_touchup.jpg


It's holding up incredibly well as we cycle back to another winter with studded tires...80K kms and counting with battery health @ 88 %.

leaf_2022.jpg
 
Wow, you make it look like it just came off the factory floor. Also forever jealous you were able to get one in Red. :lol:
 
Back
Top