
schnitzeraffe
Member
I purchased a 2014 Nissan Leaf SV with ~50k miles in March for economical transportation to and from work.
It replaced my 2001 Toyota Echo 5-speed that died with 220k miles on the clock.
I have read tons about these cars and started on the modifications I require for it to fit my needs.
A full LED swap was towards the beginning of that list.
I used Superbright LED's bulbs, at other member's suggestions, for most of these; Auxbeam for high beam and fog light bulbs; Profile Crown 2.0 921s for back-ups; and Alla Lighting for DRL bulbs in the fog light housings (maybe a write-up on that some other time") ).
).
6000k cool white bulbs all around.
So what was the problem?
Why post this thread?
The factory LED map lights!!!!
In my particular car at least, they were of the 3000k warm white variety... AND FOR ME THAT JUST WON'T FLY!
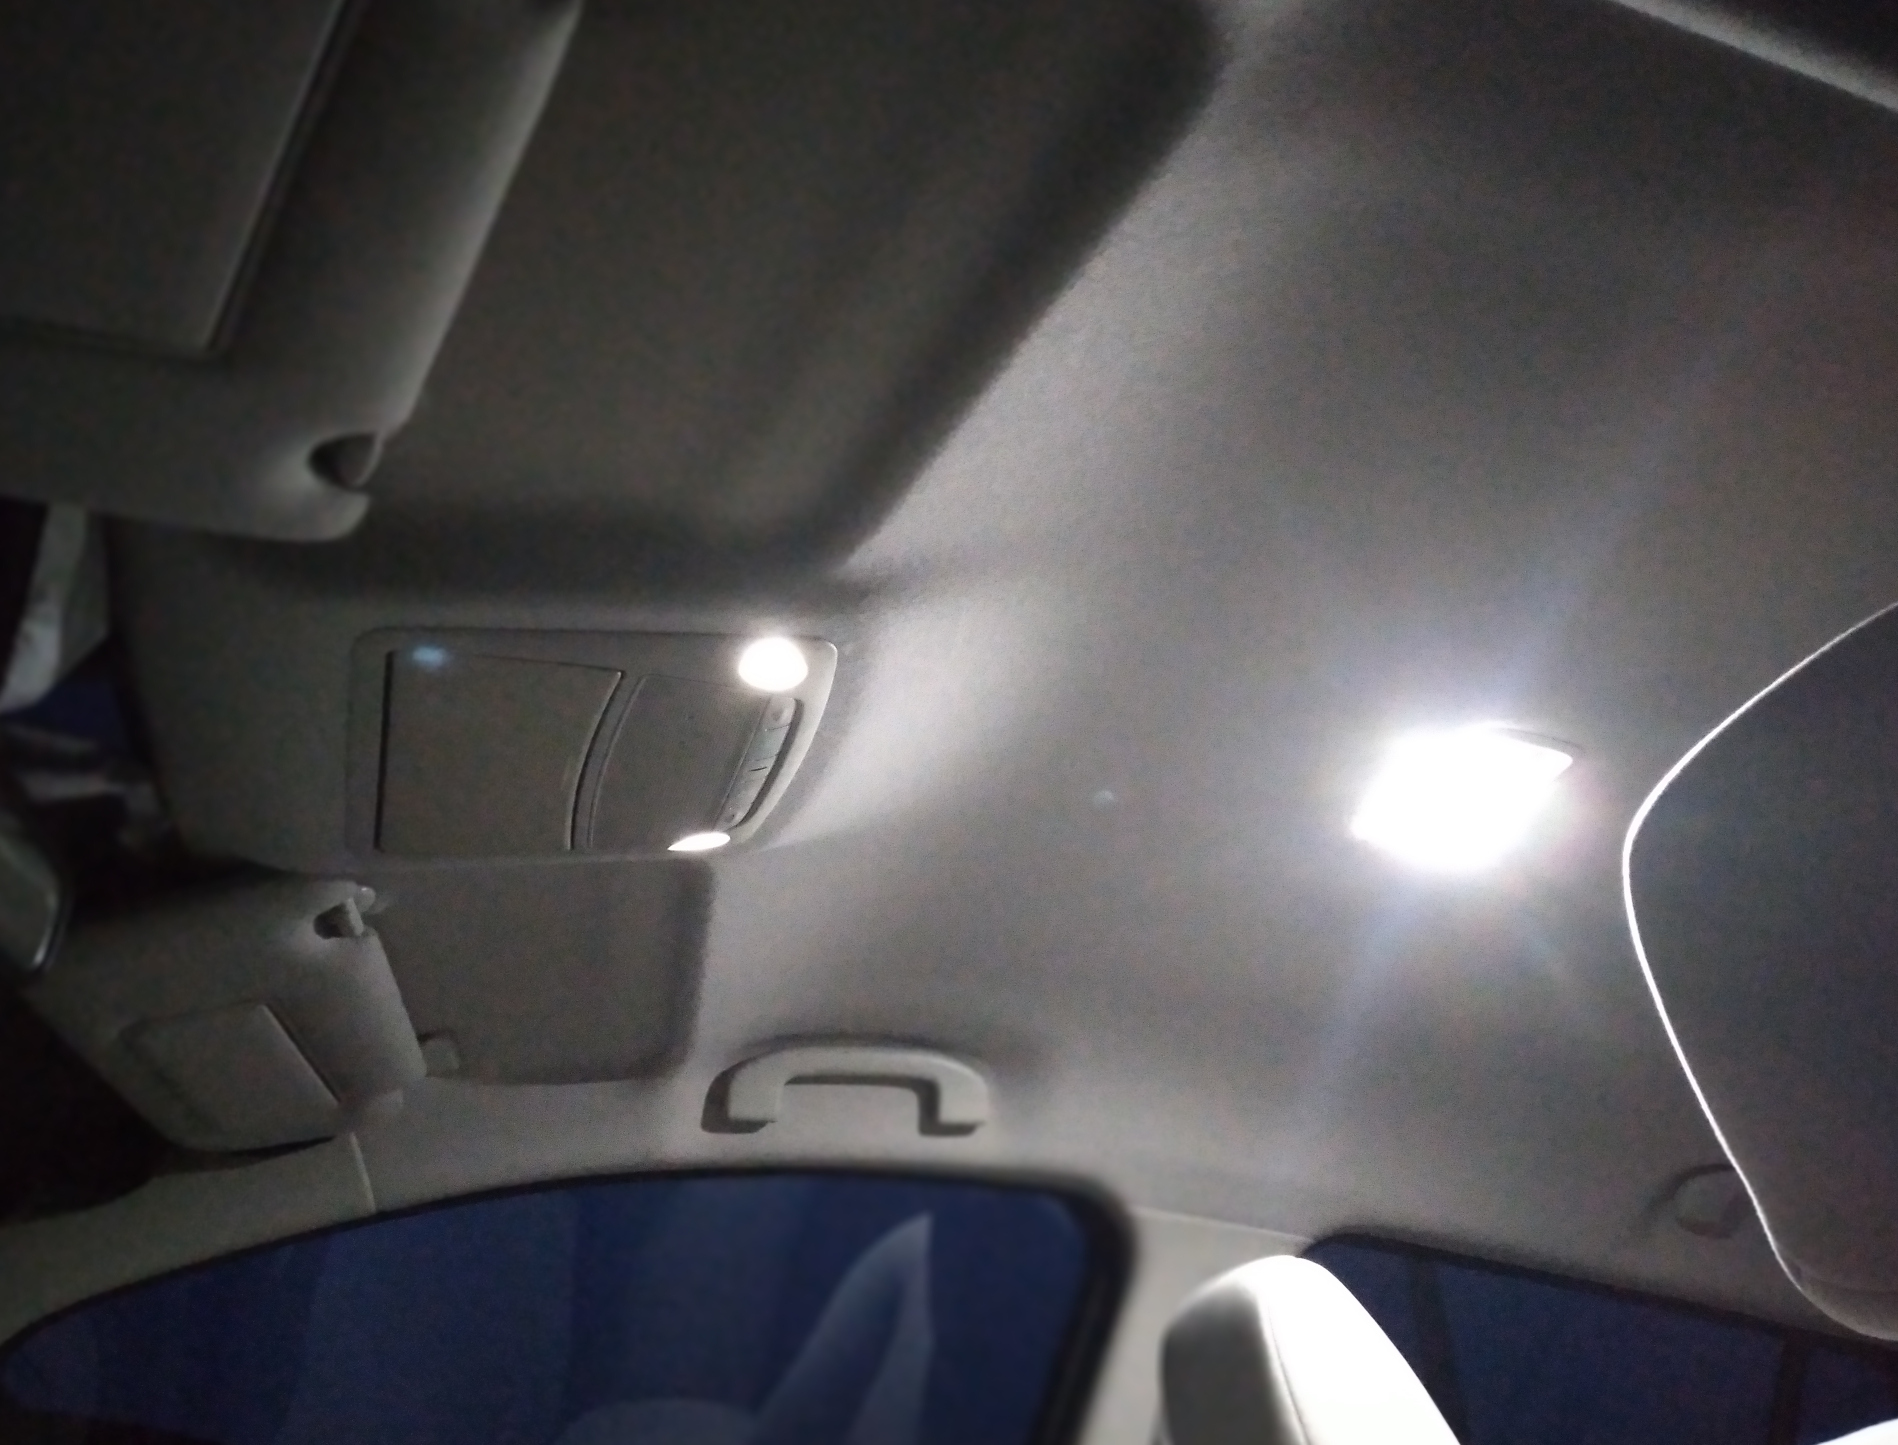
Here is a pic in the dark showing the new LED festoon bulb to the right and the factory map light LEDs on the left.
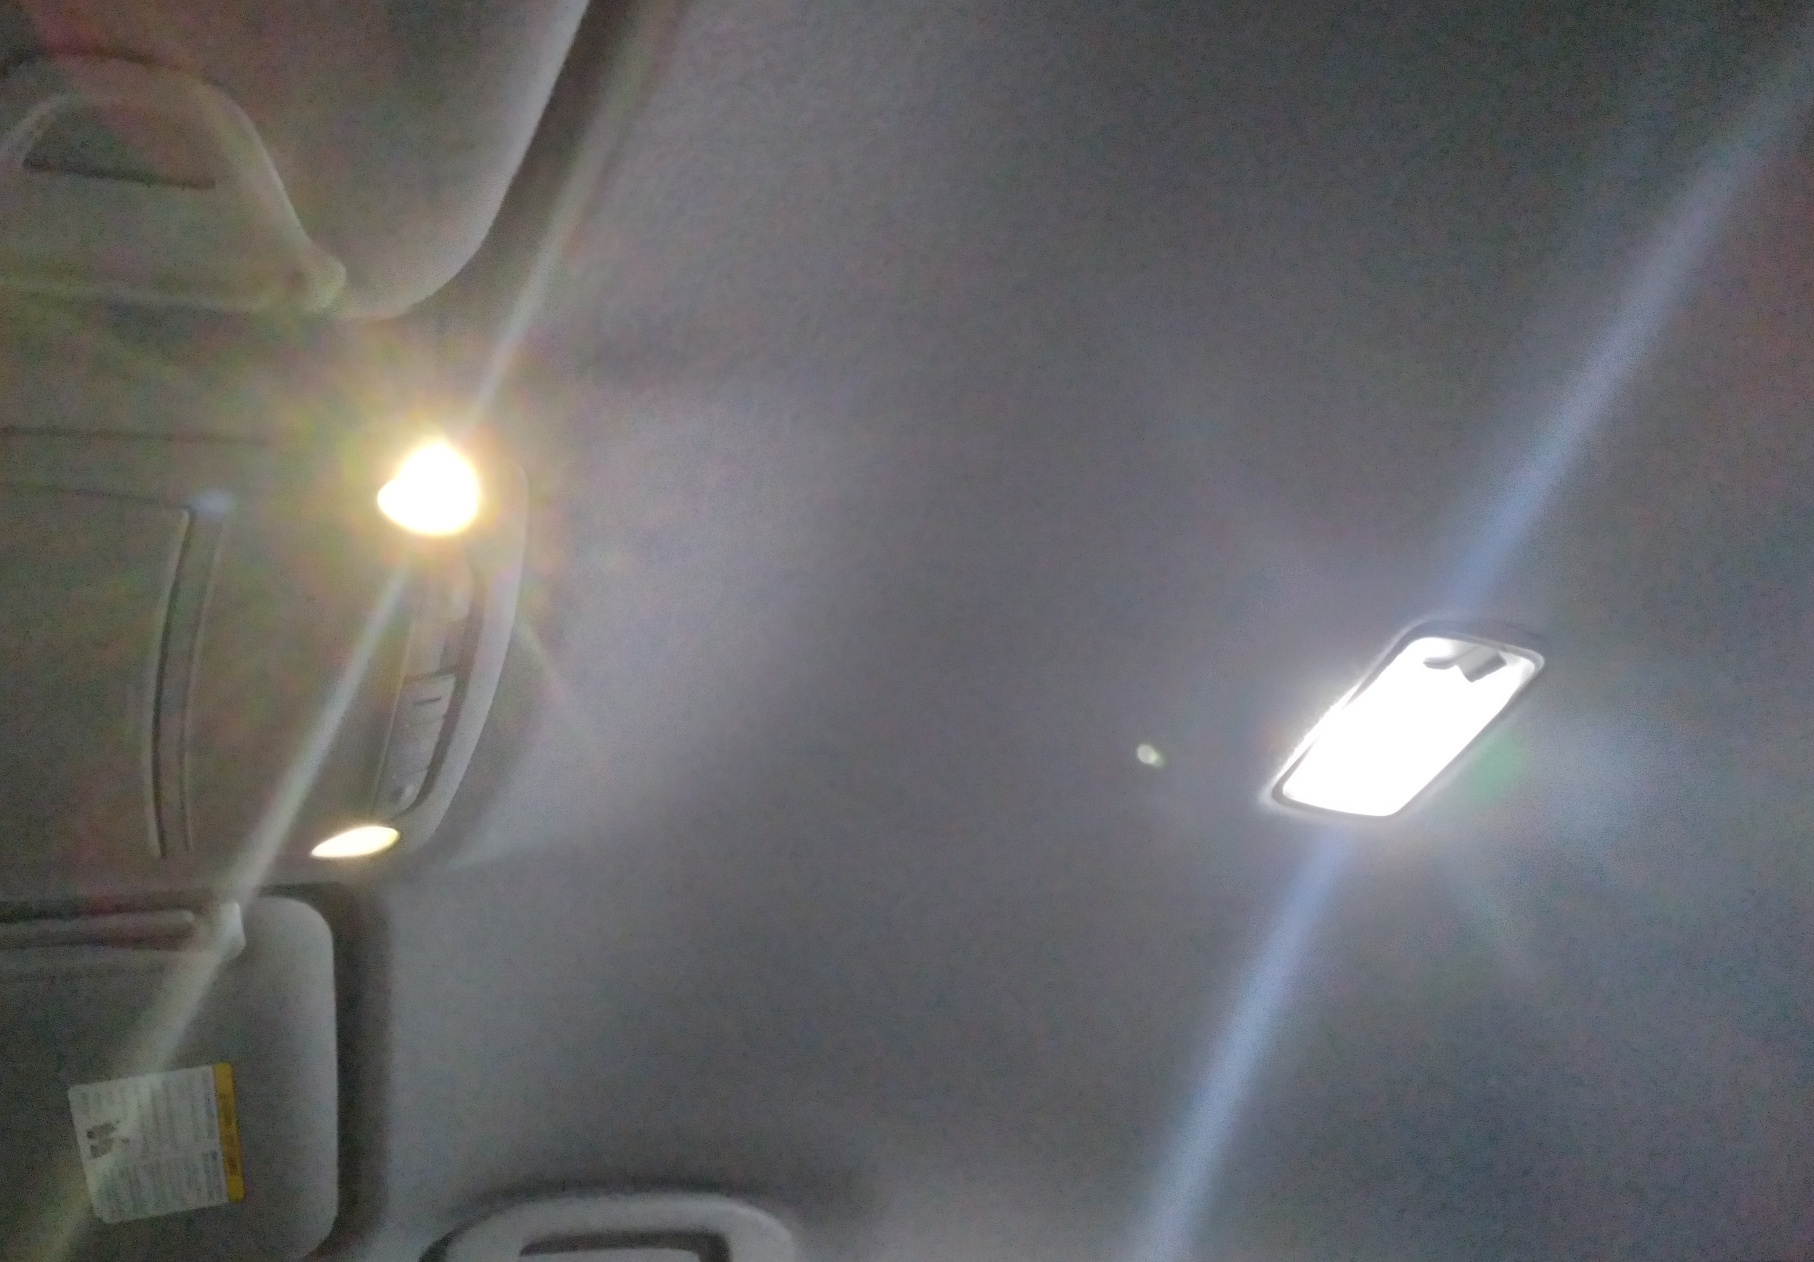
Sorry, the pic is a little blurry.
It might be hard to tell from this image, but the difference is QUITE noticeable in person.
I searched to the best of my ability and found nothing about replacing these factory LEDs.
So I hoped that it would be a simple “remove the overhead assembly, pull the LED bulbs out of the sockets, and replace them with another" scenario.
It wasn't.
The LEDs are mounted to their own PCBs and plastic riveted into the assembly.
Here is a picture of the unmodified, stock asembly.
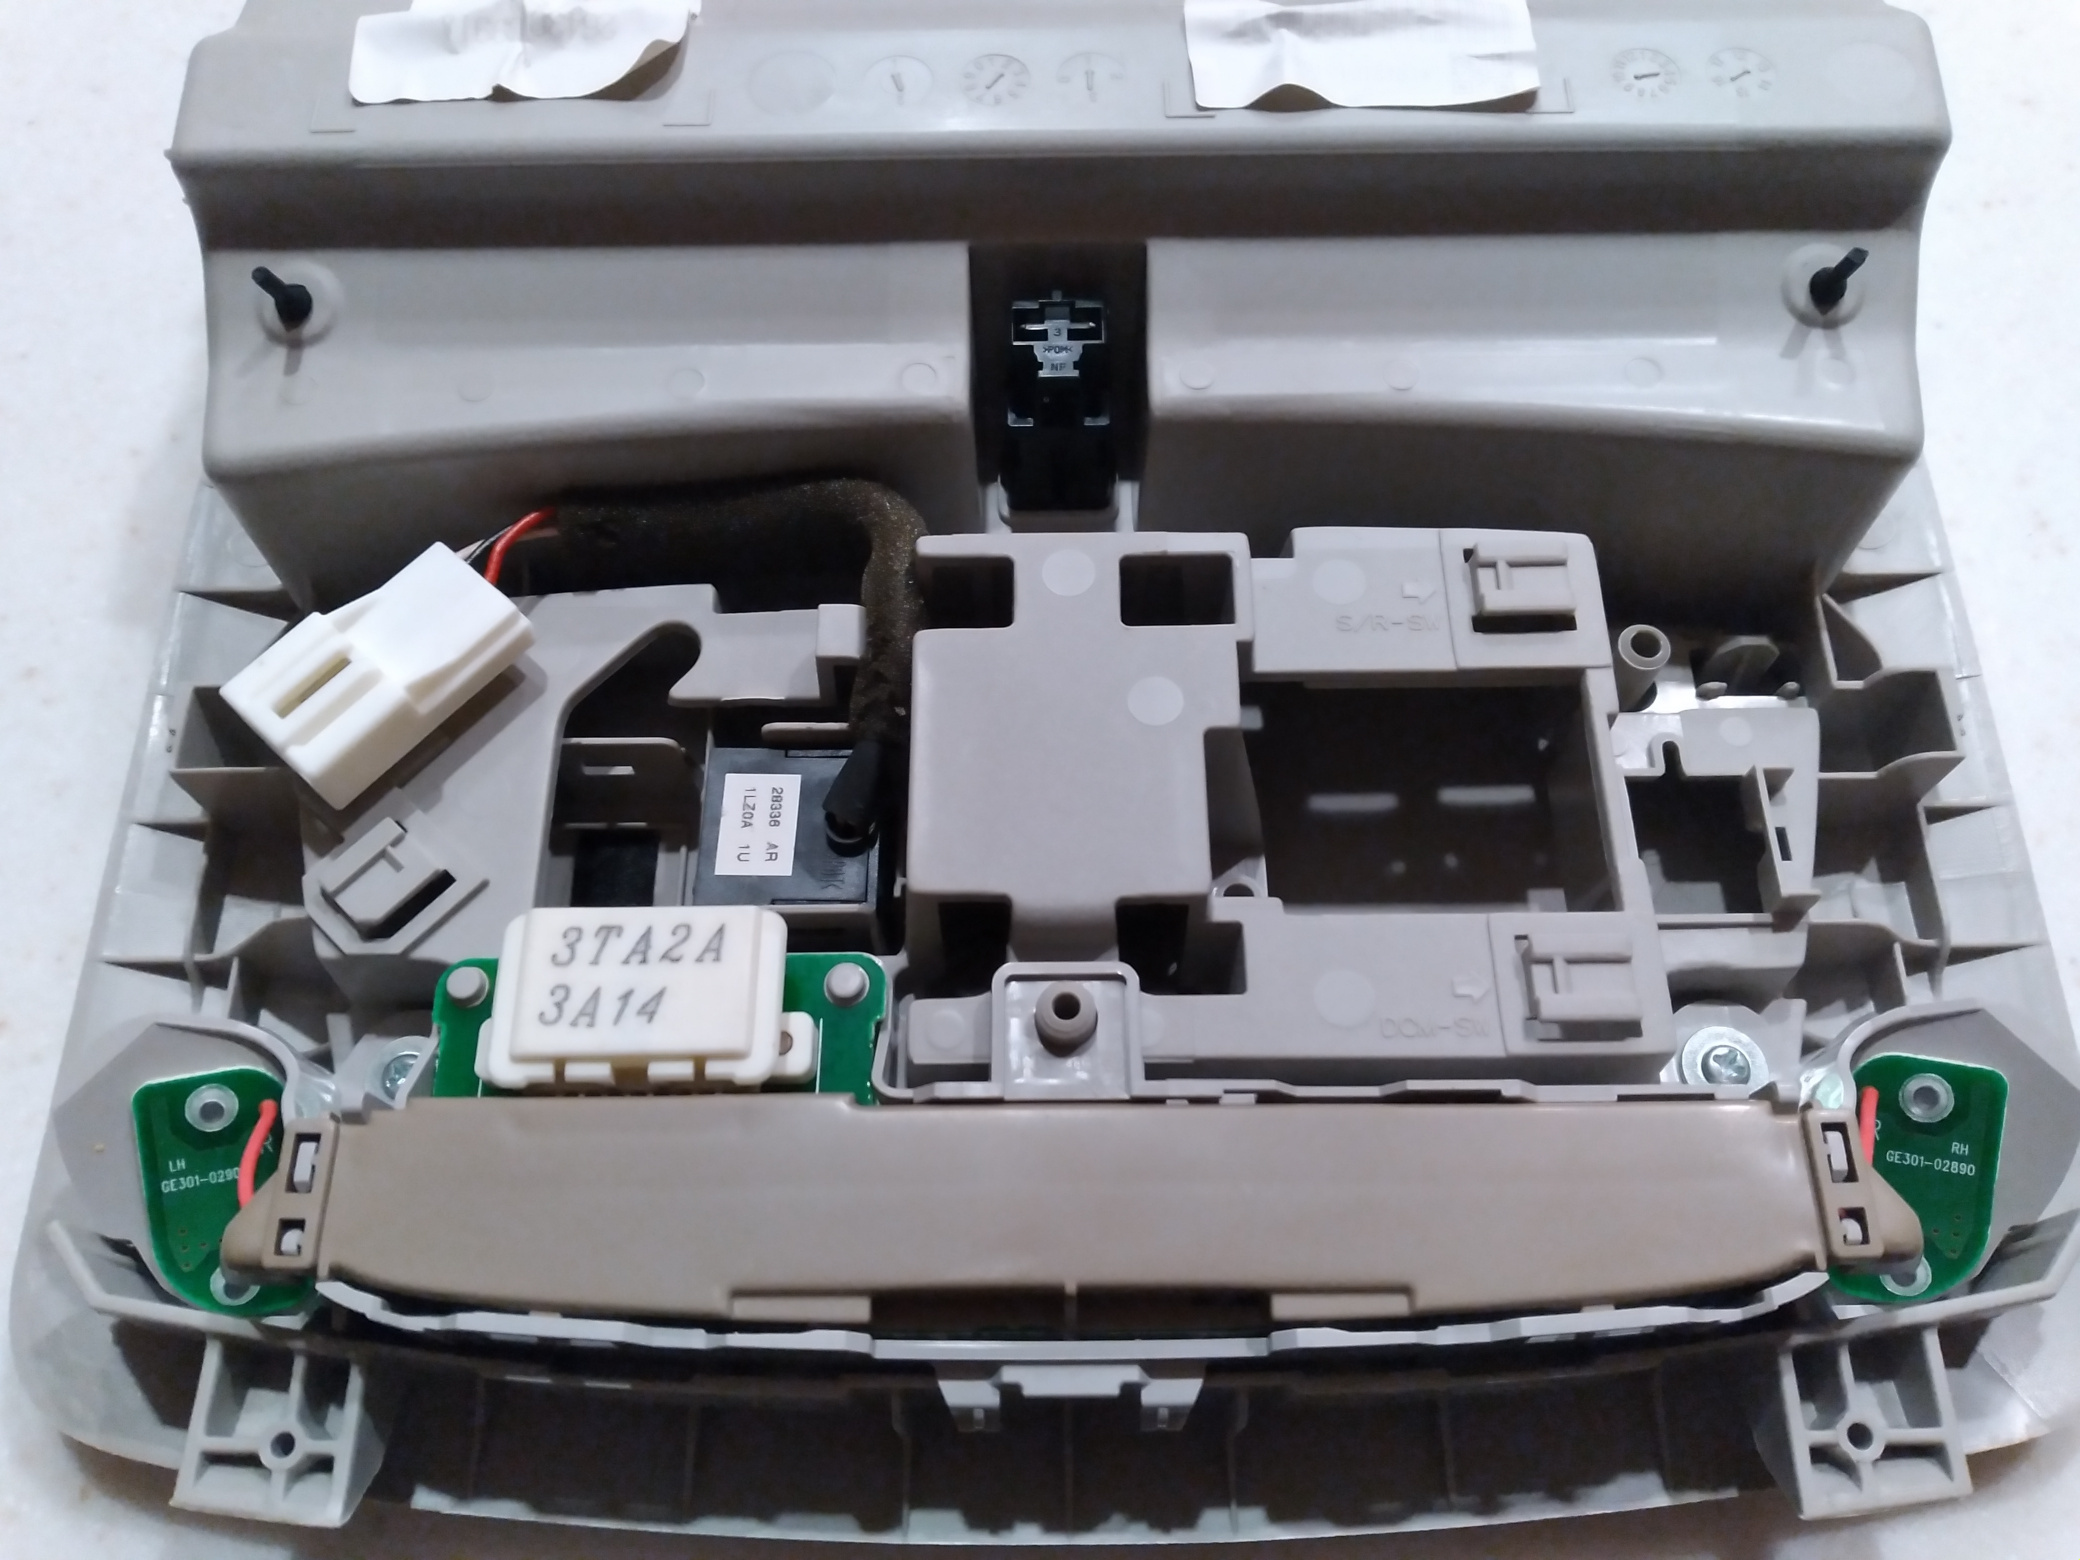
The PCBs in the bottom corners of the pic have the LEDs on their undersides.
Here is a close up picture of one of the boards.
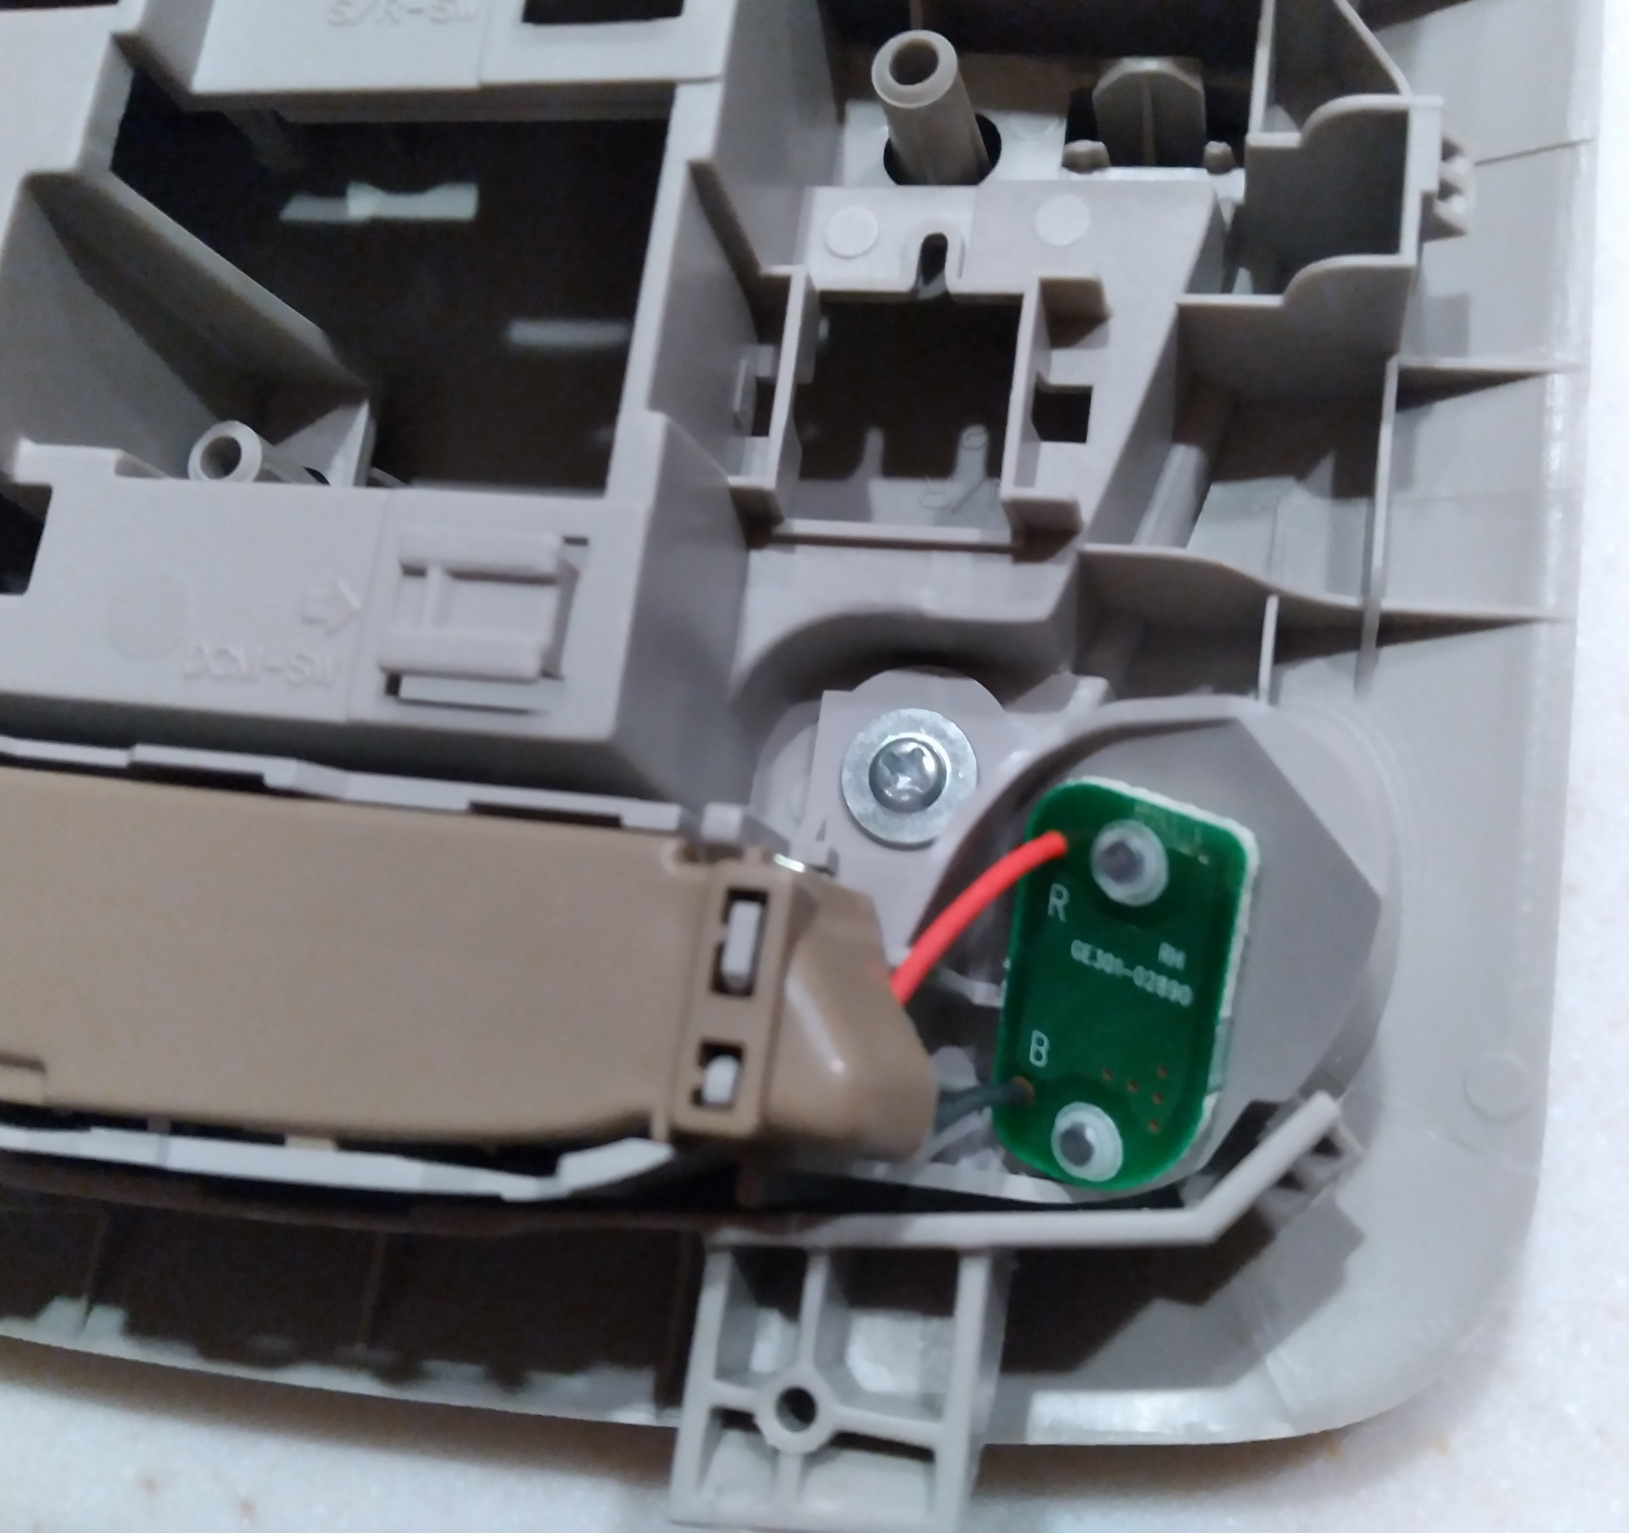
Well if I was going to replace these things the first thing I needed to know was what kind of voltage they required.
There wasn't much contact on the backside of these boards, but if you look closely you'll see a little ring around the positive and negative wires.
I was able, just barely, to get my multimeter probes on there... 3.18V.
So I started looking for 3V, cool white, 6000k LEDs on printed circuit boards.
I came across lots of losers, and then found these on Amazon.
Meccanixity COB LED

5V LEDs in a package of five for $8.49.
I figured it was worth a shot.
They arrived, I soldered on some 22 gauge wire, and hooked up two AA batteries for 3VDC to simulate the power that the Leaf would provide.
They worked and they were bright!
The Amazon listing said they needed to be installed on an aluminum or copper radiator to avoid burnout.
I ordered some Raspberry Pi heatsinks and already had a tube of thermal glue (not paste... glue), so I slapped them together and added some light pressure with a clamp.
I didn't want to smash the LEDs, so I used some leftover 1/2” PVC to make some spacers with cutouts for wiring on the sides to protect them while under pressure waiting for the glue to dry.
Remember that close up PCB picture from earlier?
The little clear plastic circles on the boards are funny, little, melted rivet things that hold the board on to the assembly.
I used a utility knife to slice them off and then the PCBs and the lenses underneath came right out.
In the pictures you'll see a long, thin, brown skinny cover between the PCBs.
There are 4 or 5 small clips / tabs that hold this cover in.
Popping it off gives access to extra wire for soldering in the replacement LEDs and somewhere to stuff the wiring when you're done.
This pic shows a comparison of the two LEDs.
The old one is on the left and the new white one is on the right.
Again, the difference in person is much more dramatic than in this pic.
With the factory PCBs removed, there was nothing holding the factory lenses in place.
I used some quick dry clear epoxy on the two pegs on each lens and glued them back into their original positions.
Then I put the new LED / heatsink setups I made on top of those lenses and used hot glue around the base of them.
I thought about using slow set JB Weld epoxy, but I have had that fail in interior automotive applications before and was also afraid it would have time to seep into areas I didn't want before it dried.
That's why I went with the hot glue.
I sanded the plastic with 60 grit prior to try to help with adhesion.
It seems quite sturdy (for now at least).
Here is a pic of the entire unit after modification and reassembly.
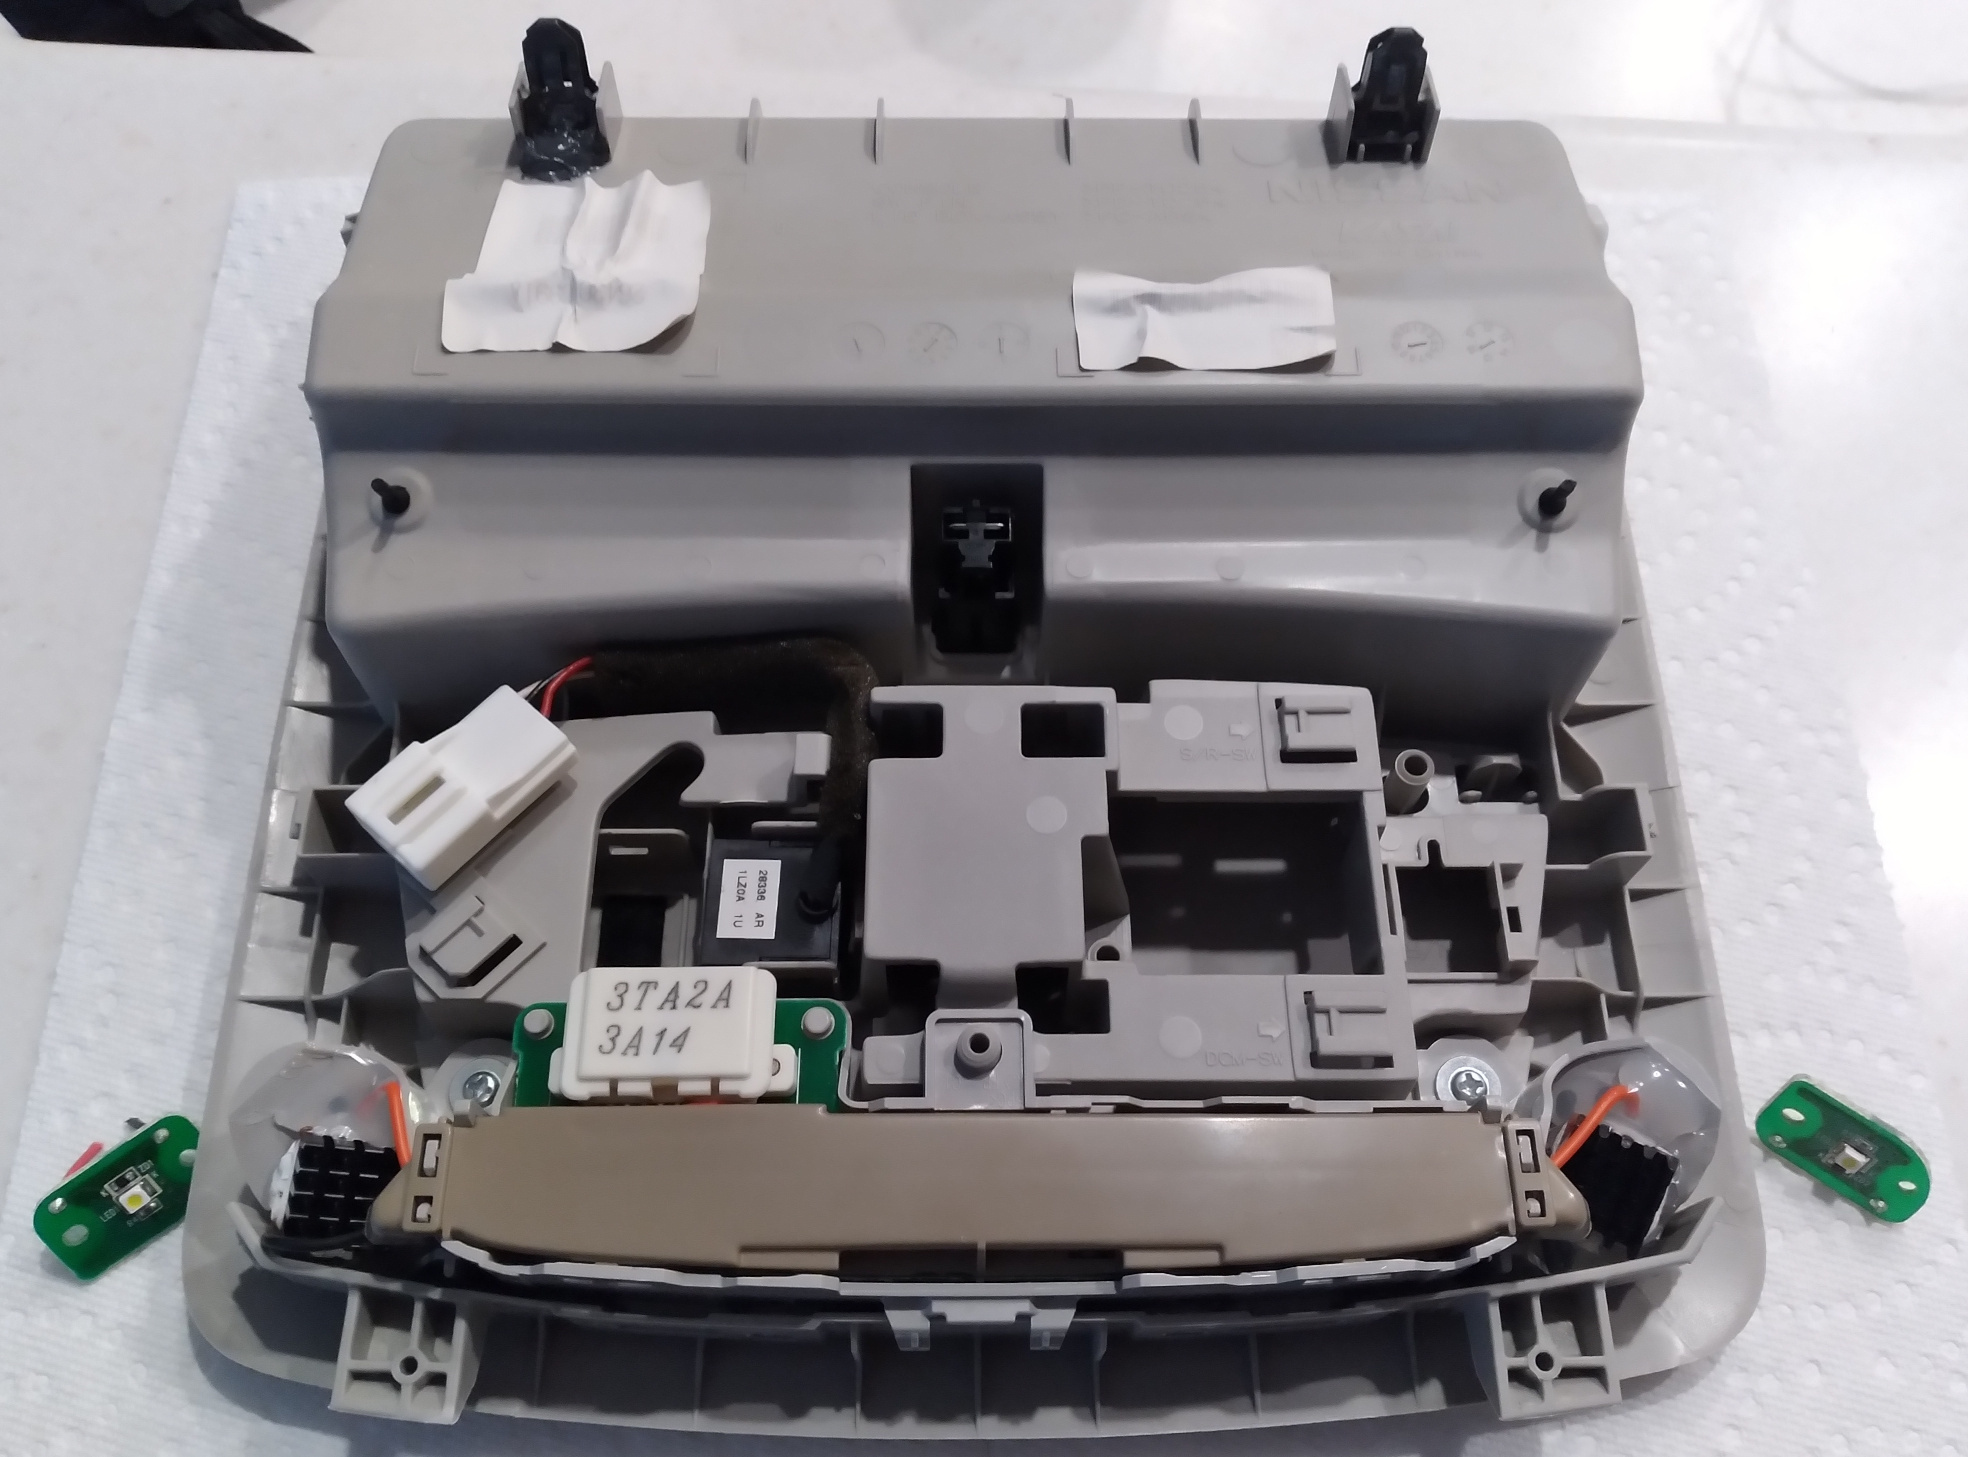
The original, removed, PCBs are sitting off to each side.
I'm very happy with the results!!!
ALL MY LIGHTS ARE COOL WHITE!!!!!!!!!!!!!!!!!
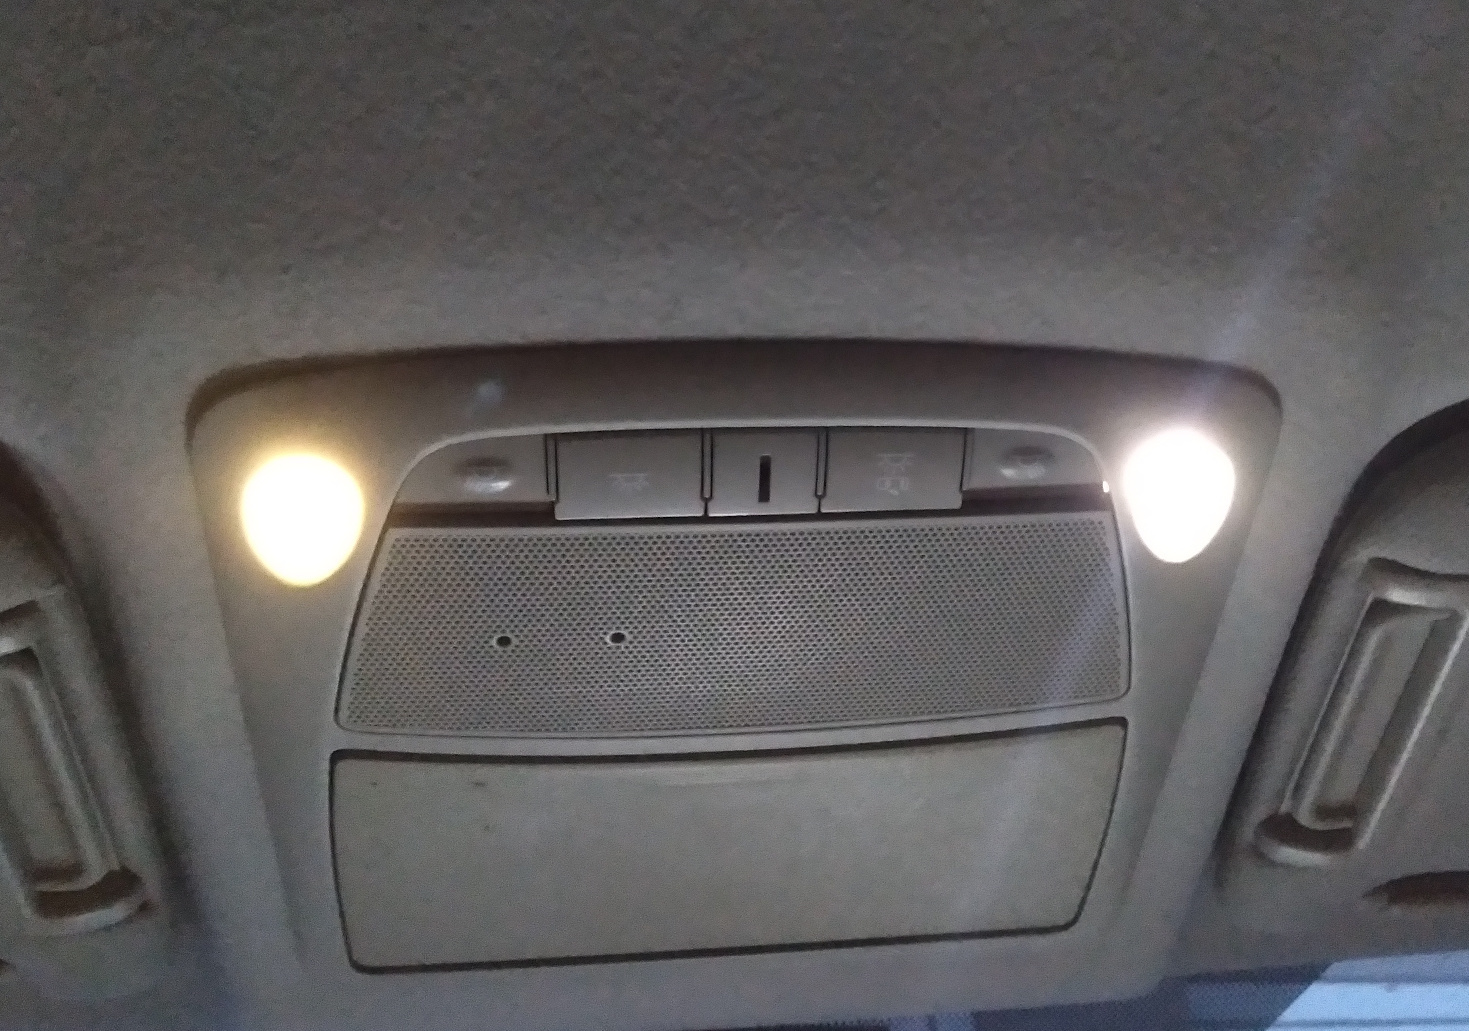
Here is the final pic of the two new cool white map light LEDs with the LED festoon off to the right.
Cost me about $15 (if you don't count my time ).
It replaced my 2001 Toyota Echo 5-speed that died with 220k miles on the clock.
I have read tons about these cars and started on the modifications I require for it to fit my needs.
A full LED swap was towards the beginning of that list.
I used Superbright LED's bulbs, at other member's suggestions, for most of these; Auxbeam for high beam and fog light bulbs; Profile Crown 2.0 921s for back-ups; and Alla Lighting for DRL bulbs in the fog light housings (maybe a write-up on that some other time
).6000k cool white bulbs all around.
So what was the problem?
Why post this thread?
The factory LED map lights!!!!
In my particular car at least, they were of the 3000k warm white variety... AND FOR ME THAT JUST WON'T FLY!
Here is a pic in the dark showing the new LED festoon bulb to the right and the factory map light LEDs on the left.
Sorry, the pic is a little blurry.
It might be hard to tell from this image, but the difference is QUITE noticeable in person.
I searched to the best of my ability and found nothing about replacing these factory LEDs.
So I hoped that it would be a simple “remove the overhead assembly, pull the LED bulbs out of the sockets, and replace them with another" scenario.
It wasn't.
The LEDs are mounted to their own PCBs and plastic riveted into the assembly.
Here is a picture of the unmodified, stock asembly.
The PCBs in the bottom corners of the pic have the LEDs on their undersides.
Here is a close up picture of one of the boards.
Well if I was going to replace these things the first thing I needed to know was what kind of voltage they required.
There wasn't much contact on the backside of these boards, but if you look closely you'll see a little ring around the positive and negative wires.
I was able, just barely, to get my multimeter probes on there... 3.18V.
So I started looking for 3V, cool white, 6000k LEDs on printed circuit boards.
I came across lots of losers, and then found these on Amazon.
Meccanixity COB LED
5V LEDs in a package of five for $8.49.
I figured it was worth a shot.
They arrived, I soldered on some 22 gauge wire, and hooked up two AA batteries for 3VDC to simulate the power that the Leaf would provide.
They worked and they were bright!
The Amazon listing said they needed to be installed on an aluminum or copper radiator to avoid burnout.
I ordered some Raspberry Pi heatsinks and already had a tube of thermal glue (not paste... glue), so I slapped them together and added some light pressure with a clamp.
I didn't want to smash the LEDs, so I used some leftover 1/2” PVC to make some spacers with cutouts for wiring on the sides to protect them while under pressure waiting for the glue to dry.
Remember that close up PCB picture from earlier?
The little clear plastic circles on the boards are funny, little, melted rivet things that hold the board on to the assembly.
I used a utility knife to slice them off and then the PCBs and the lenses underneath came right out.
In the pictures you'll see a long, thin, brown skinny cover between the PCBs.
There are 4 or 5 small clips / tabs that hold this cover in.
Popping it off gives access to extra wire for soldering in the replacement LEDs and somewhere to stuff the wiring when you're done.
This pic shows a comparison of the two LEDs.
The old one is on the left and the new white one is on the right.
Again, the difference in person is much more dramatic than in this pic.
With the factory PCBs removed, there was nothing holding the factory lenses in place.
I used some quick dry clear epoxy on the two pegs on each lens and glued them back into their original positions.
Then I put the new LED / heatsink setups I made on top of those lenses and used hot glue around the base of them.
I thought about using slow set JB Weld epoxy, but I have had that fail in interior automotive applications before and was also afraid it would have time to seep into areas I didn't want before it dried.
That's why I went with the hot glue.
I sanded the plastic with 60 grit prior to try to help with adhesion.
It seems quite sturdy (for now at least).
Here is a pic of the entire unit after modification and reassembly.
The original, removed, PCBs are sitting off to each side.
I'm very happy with the results!!!
ALL MY LIGHTS ARE COOL WHITE!!!!!!!!!!!!!!!!!
Here is the final pic of the two new cool white map light LEDs with the LED festoon off to the right.
Cost me about $15 (if you don't count my time
).