Method 3: A/C switch also switches heater.
Now this is the deluxe method. If the A/C light is on, the climate control behaves normally.
But if the A/C light is off, then the heater will never be turned on.
Note that regardless of the manual A/C setting, whenever you preheat your car with the climate control timer, the A/C light always comes on. So preheating always works without manual intervention.
You need any N-Channel MOSFET (1N7000 or BS170, ...),
any diode (1N4148, 1N4001, ... a Schottky diode would be even better),
one 100nF capacitor,
two 1 MOhm,
a 330 Ohm,
a 220K resister,
and some 32AWG magnet wire (aka 0.2mm enameled copper wire).
Please make sure that the car is unplugged and turned off.
Do not turn on the car while any of the connectors are unplugged.
Remove the cover of the climate control unit in the center console. There are no tools required. It may be a good idea to put a blanket over the cup holders and drive selector.
If you have the service manual this is on page IP-18 removal instructions for "cluster lid C".
Or follow this
installation video provided by Ingineer.
Also remove the climate control unit.
Flip it over and remove the 6 PH screws:
Remove the back cover:
Grab the PCB by the white M50 connector and just take it out. There are no further screws or clips. This is also a safe procedure as the climate control buttons in the case are secured, they will not fall out.
In the upper left corner you will see the solder side of the M50 connector.
LED5 is the A/C light. The LED6 is in parallel. It is not populated, so it's pads are free and closer to the connector. Very convenient.
The left pad of LED6 is connected to ground by a transistor whenever the LED is turned on. If the LED is off you will get 12 Volts thru the resistor and LED.
Pin 10 and 30 are the ground pins. Pin 37 is the heating fluid temperature sensor input.
You can use double sided tape to secure the MOSFET, here a 1N7000 in a TO-92 package, and the capacitor. The rest is just soldered on the fly like that.
If you use another MOSFET it may have a different pin-out. The picture below indicates Source, Drain, and the Gate.
Please note that the front cover with the button does have very close contact to the PCB around all the buttons and LEDS. Do not place any components below the MOSFET. There is lots of head room above the connector. Always make sure that the front cover still fits over the board!
This is also the reason why magnet wire is required. This has to cross one of those contact points. So a regular insulated wire would be too thick. If you have never used magnet wire before: It is insulated with some paint that will be burned off by soldering.
Note that when the climate control unit was left unplugged for more that 20 mins or so, the defrost light will blink for around 15 secs when the car is turned on for the first time. Don't panic, this is normal.
Here are the schematics, the yellow box contains the newly added components:
Please note that the above circuit has evolved and was influenced by the components that were found in the desk drawer. There are many other ways to solve the problem.
The first approach just had the MOSFET and the 330 Ohm R1 resistor. The MOSFET gate was connected to the LED. When it is off the 12 Volts will switch on the MOSFET and put the R1 resistor in parallel with the heating fluid sensor to fake the high temperature reading.
That worked perfectly to switch the heater on/off until the car lights were turned on. The climate control unit then dims the LEDs. It does that with 200 Hz PWM signal with a 10% active low duty cycle. This has kept the heater off even when A/C was on. So to fix this, the rest of the circuit was added to remove that signal. D1 discharges the capacitor quickly, while R2 charges it very slowly. The voltage divider R3/R4 lowers the voltage below the MOSFET ~1 Volt gate threshold. If the signal remains high for a longer period than the 5 ms of the PWM signal, then the MOSFET turns on. You might be able to do without the two resistors if you use a Schottky diode instead of a regular one, as this lowers the voltage by .5 Volts and/or use a MOSFET with a higher threshold.
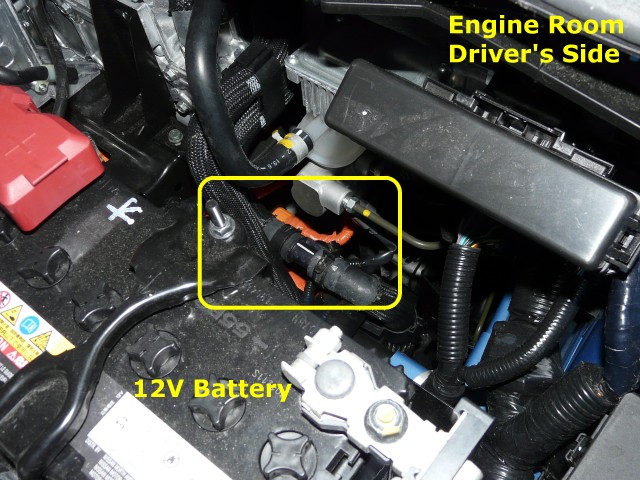
SMD components may have been a better choice. You could also use a 4016 CMOS IC with four analog switches to solve the problem. The neat thing here is the 300 Ohm on-resistance, so R1 is not required. Battery voltage (13.8 Volts) is on pin 31 of the M50 connector. The complete pin-out is on page HAC-48 of the service manual.
If you prefer to solder the modification on the component side of the PCB you can use the right side of the unpopulated C159 pads which connect to the T20 LED driver transistor.
Here's a table that shows the resistance values of the heating fluid sensor (HAC-13 of the service manual), the temperature in degrees Celcius and the voltages on a 2012 Leaf. Note that the 2011 service manual page HAC-39 lists different voltages. It appears that the current resistor on the 5 Volts voltage divider for the sensor is 1000 Ohm. If the manual is correct it may have been 390 Ohms in the 2011 models. For the purposes of this modification it is largely irrelevant. Just to let you know in case you measure the circuit. For room temperature the voltage is 2.5 Volts and when the 330 Ohm resistor is active it is around 1 Volt.
R-Sensor Temp C Voltage
6770 -20 4.36
2500 0 3.57
1060 20 2.57
500 40 1.67
360 50 1.32
260 60 1.03
190 70 0.80
140 80 0.61
Enjoy!