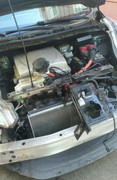
Ok. All back together.
I pulled vacuum for an hour. Then left for an hour. It was holding at 30 inHg. I then pulled vacuum again for 3 more hours last night and it dropped to above 30inHG (off the gauge scale). This morning it was still holding at this. I pulled vacuum for one more hour this morning then added the R134a.
I just went for a drive and I was able to pull the vent temp down to 45 degrees but it's only 70 degrees outside right now. I'll retest when it's 85+ and see what the vent temp and hi/low gauge pressures are.
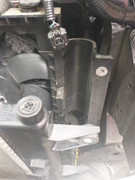
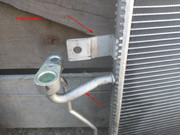
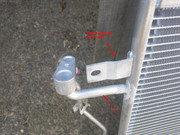
As @DaveinOlyWA mentioned there was a TSB for the earlier 13-15 MY which addressed high pressure pipes cracking.
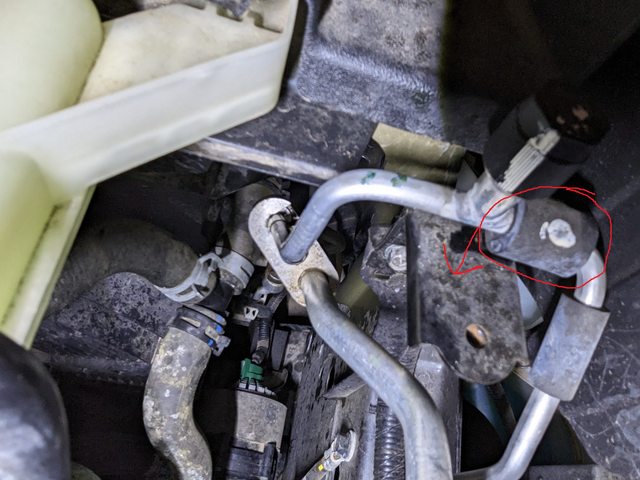
NTB16-050 I was curious as the hp pipe I ordered 92440-3NK0A (which supersedes the earlier version on my car) had an additional mounting clamp with bolt hole near the high pressure port. On my original pipe the foam circle is there but not the clamp. I guess the factory when they made the car (10/2015) removed the clamp from the pipe as it's no longer used. I don't have the frame bracket. I didn't try removing the clamp.
The dealer told me that they'd not had many issues with these pipes since the TSB. I guess I'm unlucky? I sure hope it does not crack again.
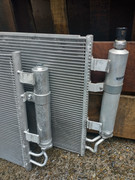
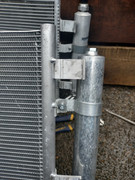
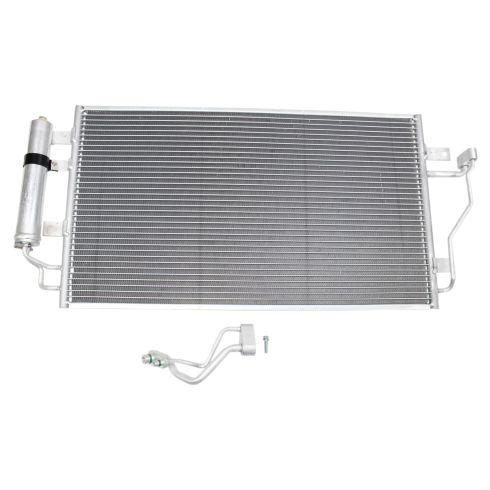
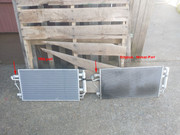
I still believe my original OEM condenser is fine so no thanks to the original dealer who diagnosed it as bad. I've kept it in case I need another in the future (assuming it pressure checks) though after this time apart I'd need to install a new dryer assembly.
Four things I'd do differently if I was doing it again:
1) I ended up adding the ND11 to various points in the system (150ml total) on the basis that the freon will blow it around. I'd missed the line in the service manual that a new compressor comes per-installed with 150ml. 20ml will remain after draining compressor (which I did). Since I'd flushed the evaporator and all hoses and replaced the condenser I should have just added 130ml of new oil into the old compressor, reinstalled and not added oil elsewhere.
2) Adding TP9811-P3 dye when recharging is probably a good idea. Easy to do when switching R134a cans (425g ~15oz is needed and the cans I used were 12oz - I used an accurate set of scales to add the final 3oz from the second can). It was suggested to me that it can be hard to detect a minor leak based just on the vacuum gauges. However by this time I was already a week behind schedule due to the condenser fitment issues, my wife wanted the car to be working and I couldn't find anyone local who sold the hybrid dye. So I ordered a TP9812-BX kit which should allow me to inject dye into the lp port without hooking back up the gauges. It will be here next week. I'll just sell it on after I'm done assuming no new leaks.
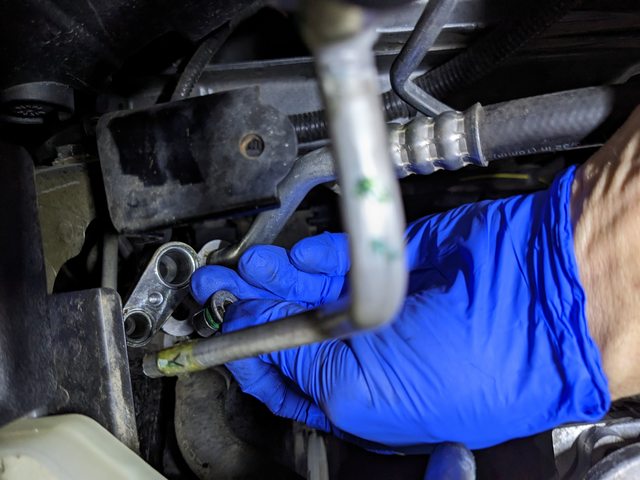
3) There are a lot of bolts that look the same but are slightly different, especially for the charging port bracket. I did use multiple different zip-lock bags and marked them but I only did a 90% job and this cost me time. Take detailed pictures at each step and look for bolt differences, mark the bolts you remove at each step onto the image (the fiche is ok at showing where bolts go and the part# but not at what the bolt looks like) and add add them to an individually marked zip lock
4) Also, dropping bolts is really easy. I had one drop thru a hole and into a frame member which took for ever to find. Usually they just fall onto the underside particle board guard. If I had access to ramps removing this guard would make finding dropped bolts easier. On the topic of this guard, I did use some fiberglass to fix all the cracks in mine (I guess from driving over things). They were reasonably easy to fix with it still installed.
On the topic of bolts. The bolts that secure the hoses (to the firewall, compressor, condenser) are all the same style (threaded with an unthreaded tip at the end) but one was shorter. Looking at the parts fiche the bolt that mounts the clamp to the headwall (to evaporator) is the only one with a different part#. So I figured that must be the shorter one. Odd as the clamp it goes through is the same thickness as the rest. If I'd paid better attention (above) I would have saved myself time here. Too bad Nissan can't just list the bolt specs (TD and length) on the parts fiche.
My best move was putting the front back on the car when I was finished and forgetting I'd not reinstalled the foam bumper. Had to take the front off again ;-(
Hope this helps someone else! Thanks to all those who offered constructive help!


")